
 Share
Share
 Print
Print
|
|
|
|
|


Buyer Group Explorer
The Buyer Group Explorer allows the TRAX System Administrator or other designated users to manage which users are in each specific Buyers Group by adding or deleting users from a Buyers Group.
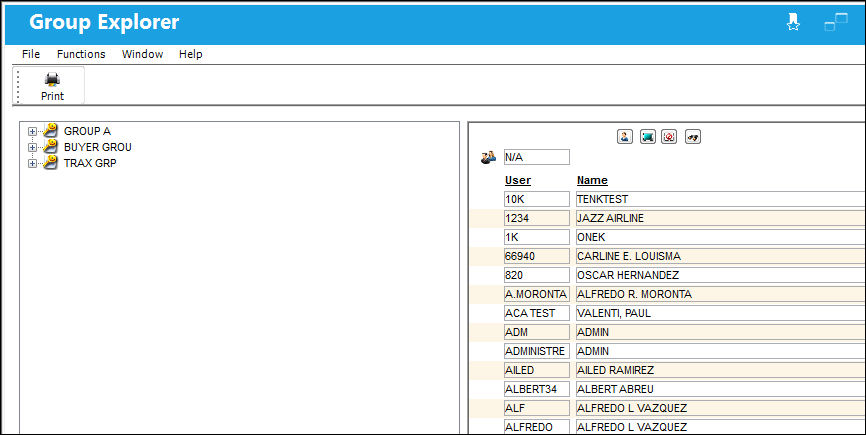
In the Buyer Group Explorer window, users are categorized by the Adopted Group Profile they belong to in Security Explorer. This is configured for each individual user, and if they are not associated to any Adopted Group Profile, then they fall into the N/A Group Profile. For additional information regarding Group Profiles, refer to the System Administration Training manual.
If there are no Buyer Groups displayed, or the Buyer Group must be created, go to System Transaction Code Explorer/Requisition and select the Buyer Group to create and manage these groups.
To create a new Buyer Group System Transaction Code, select Buyer Group and select New Record in the pop-up window.
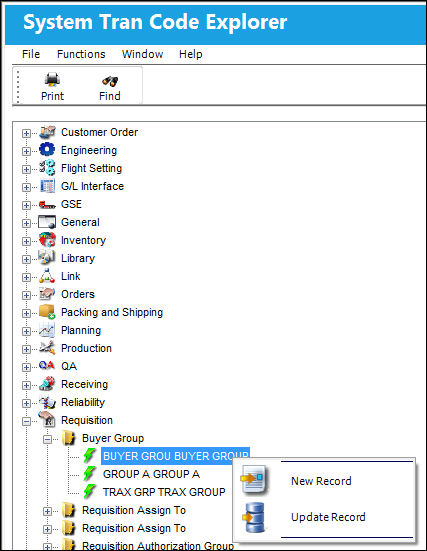
If the user would like to update the System Transaction Code, for example to change the long description, select the Update Record option and make the necessary changes.
Once TRAX displays the System Transaction Code Window, enter the desired code for the System Code and the long description for the System Code Description.
When completed, select the Save  button to save all information.
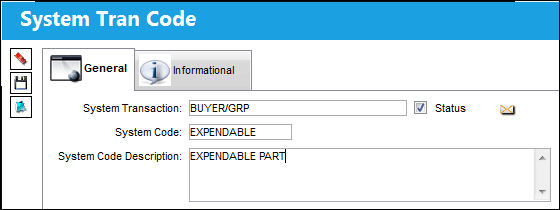
The Code is saved as shown below:
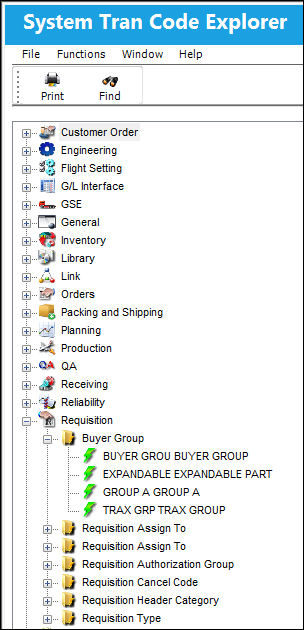
This process will successfully create the necessary Buyer Group transaction codes in the Group Explorer's left pane.
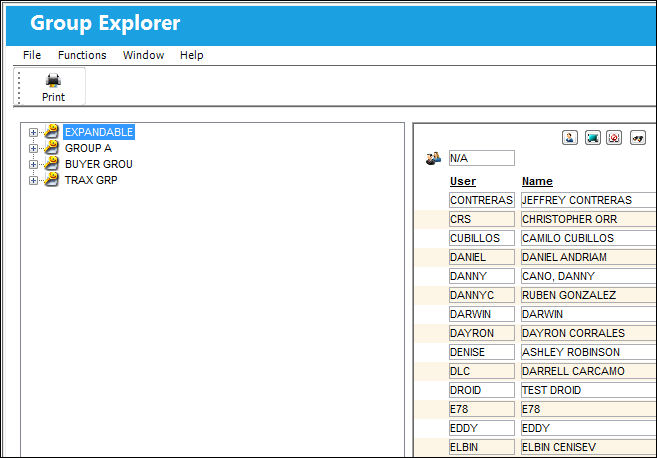
Adding a User:
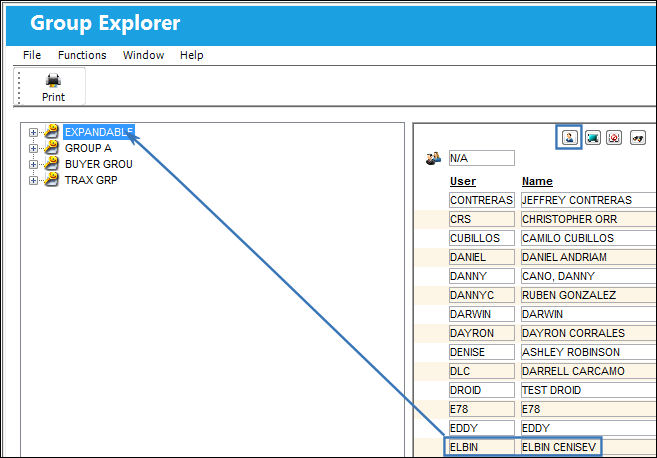
To add a User/Buyer to a group, select the name of an individual from the list of Users. Select the Drag Drop  button and drag it to the desired group.
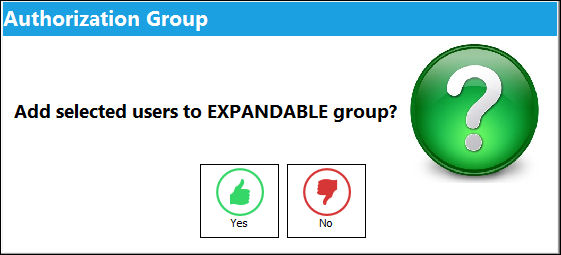
The following pop-up window will appear, confirming that the user would like to continue with transaction. For this example, the user will select 'Yes.'
If 'No' is selected, the User will NOT be included as part of the authorization group.
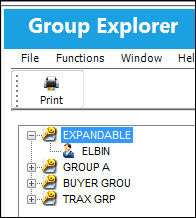
The User has been added to the Group:
Removing a User:
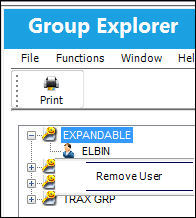
Similarly a user may be removed from a Group. Select a User's name and right click. The Remove User  button appears. Select the Remove User button.
The following confirmation pop-up will appear. Select 'Yes' to Remove User from the Group:
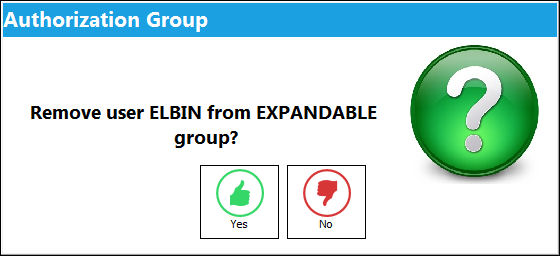
The User has been removed.
Share
Print
|
©1997-2026 Trax USA Corp. All rights reserved. This manual may not be copied, photocopied, reproduced, translated, or converted to any electronic or machine-readable form, in whole or in part, without prior written approval from Trax USA Corp. |
 |