
 Share
Share
 Print
Print
|
|
|
|
|


Populate the fields and select the checkboxes, as necessary, on the General tab.
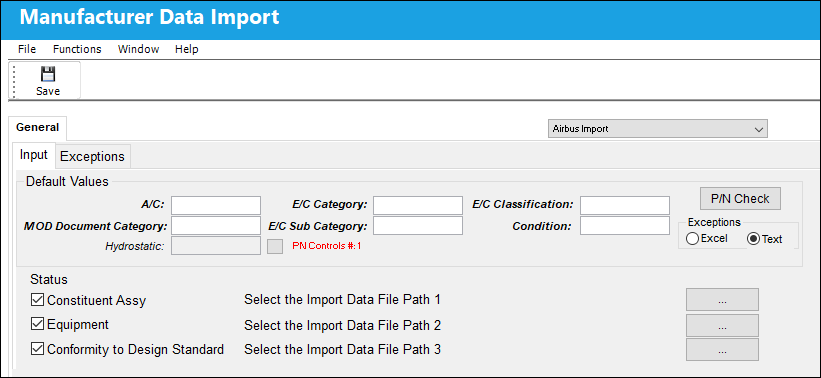
The following information/options are available in this window:
_____________________________________________________________________________________
A/C
The individual aircraft tail number.
E/C Category
The category of the E/C (e.g., AD, SB, CHECK). The E/C Category System Transaction Code is set up via Settings/ Explorer/ System Transaction Code/ Engineering. E/C Authorization Steps and System Notifications can also be set-up within the E/C Category. The category can be used for searching and reporting data in prints. For more information, refer to the E/C Category via the Engineering Transaction Codes Manual.
E/C Classification
The classification of the E/C (i.e. Mandatory, Optional, etc.). E/C classifications can be made mandatory by selecting the mandatory property checkbox in the E/C Mandatory Classification transaction code (via Settings/ Explorer/ System Transaction Code/ Engineering). If a P/N E/C has a classification where the mandatory property checkbox is selected, the system will force compliance at the next vendor or shop repair order visit and cannot be overridden. A part with a mandatory P/N E/C should only be added to a R/O when compliance is required and the work will be accomplished during that repair visit; these P/N E/Cs will not receive automatic compliance upon receipt of the R/O. E/C classifications with the mandatory property checkbox selected will trigger mandatory flags and alerts throughout the system (i.e. planning query results); and when the E/C or P/N E/C planning element checkboxes are selected in the Planning Query, the E/C Classification field appears in the planning filters. For more information refer to the E/C Mandatory Classification via the Engineering Transaction Code Manual.
MOD Document Category
The category code of the document that is being referenced. This is set up via System Tran Code Explorer/Engineering/E/C Document Category.
 Hydrostatic
Select a P/N Control to indicate which P/N Control the hydrostatic test is to be performed for.
If the Hydrostatic Date field has a value, use the Hydrostatic Date value as the Reset Date (for the part only) for it's Hydrostatic Control(s).
If the Hydrostatic Date field does not have a value, the system will use the part's Installed Date as the Reset Date for the Hydrostatic Control for that part (version 11.5 and all earlier releases).
The user may select multiple P/N Controls. These P/N Controls must exist in the system as the system will validate any data entered in this field.
E/C Sub Category
A Sub Category can be used to further define the E/C Category, if applicable. For example, users may want to classify their ADs for Engines, APUs, and Landing Gear separately. The Sub Category System Transaction Code is set up via Settings/ Explorer/ System Transaction Code/ Engineering.
Condition
Select the default Condition of the part(s) associated to the aircraft.
P/N Check  button
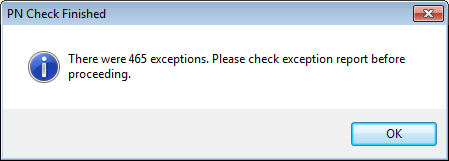
After selecting the files for the import, select this button for the system to search through the Constituent Assy and Equipment files to verify that the P/Ns exist in the system as a P/N Master/Interchangeable record and exists as a serialized P/N. Upon completion of the P/N Check, the P/Ns that do not exist will be shown in the Exceptions, as indicated through the following prompt.
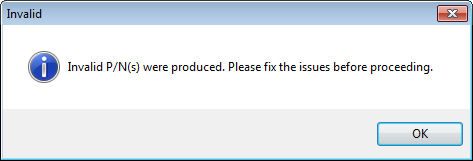
If an Import is attempted without conducting the P/N Check and there are P/Ns in the files that do not exist in the system, the following warning will prevent the import from being completed.
Exceptions radio buttons
After the Exceptions Report has been produced, select what type of file, excel or text, to save that contains a record for each P/N that was not found in the P/N Master.
Status checkboxes
Select the checkbox(es) of the types of files to be included in the Airbus Import. The following options are included:
- Constituent Assy
- Equipment
- Conformity to Design Standard
Browse  buttons
Select this button to upload the different file types (Constituent Assy, Equipment, and Conformity to Design Standard) to be imported.
_____________________________________________________________________________________
Select the Save  button.
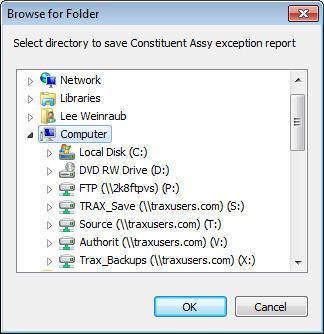
A File Import prompt appears for each file type, with its exceptions being saved, as shown below, with the prompt for the Constituent Assy file as an example:
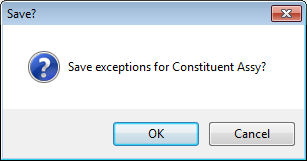
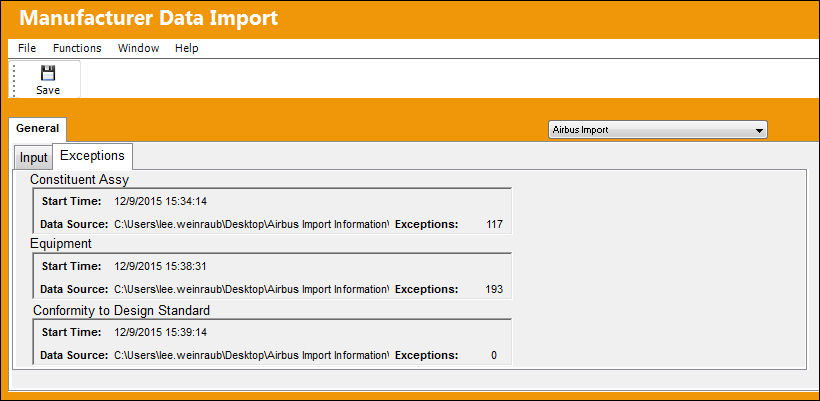
The Exceptions can be looked up through the Exceptions tab of the Manufacturer Data Import, General tab.
When selecting to save the Exceptions for each file, the particular folder can be selected for the record.
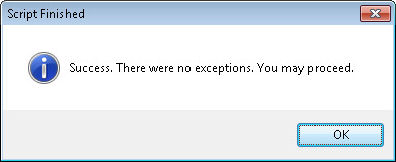
Upon saving the Airbus Import with no exceptions to be saved and fixed, the following prompt appears to indicate that the import is complete.
Share
Print
|
©1997-2026 Trax USA Corp. All rights reserved. This manual may not be copied, photocopied, reproduced, translated, or converted to any electronic or machine-readable form, in whole or in part, without prior written approval from Trax USA Corp. |
 |