
 Share
Share
 Print
Print
|
|
|
|
|


Absence Schedule Authorization Explorer
The Absence Schedule Authorization Explorer allows the user to review, reserve, accept, and/or reject vacation requests that have been released for authorization. The authorization process can be as simple as a one step authorization, or as complex as the user would like, such as a five or ten step authorization process. The actual authorization configuration process is user-defined based upon each users' individual business process needs, and can be set up via the Absence Category System Transaction Codes.
Once an absence request has been released for authorization via the Absence Schedule option, go to Planning/Explorer/Absence Schedule Authorization Explorer.
TRAX displays all vacation requests:
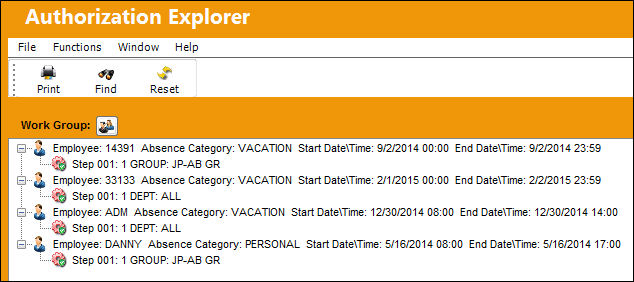
In the Absence Schedule Authorization process, there are no Parallel or Parent Child Authorization Steps, so steps must be accepted in order, for example Authorization Step 001, followed by 002, then 003 and so on, until all the Authorization Steps have been accepted.
_____________________________________________________________________________________
Current/Pending Step  icon
icon
The current open Absence Request Authorization Step(s) that is pending acceptance.
Green Status  icon
icon
An Absence Request Authorization Step that has been accepted.
Red Status  icon
icon
An Absence Request Authorization Step that is pending prior steps to be accepted. These steps cannot be accepted until the prior step(s) have been accepted.
_____________________________________________________________________________________
To authorize the first Step, select and right click the Authorization Step.
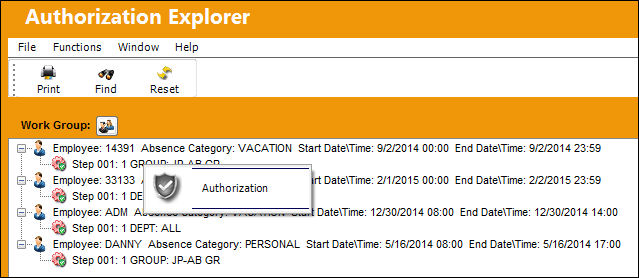
The following Authorization option becomes available. Select the following button:

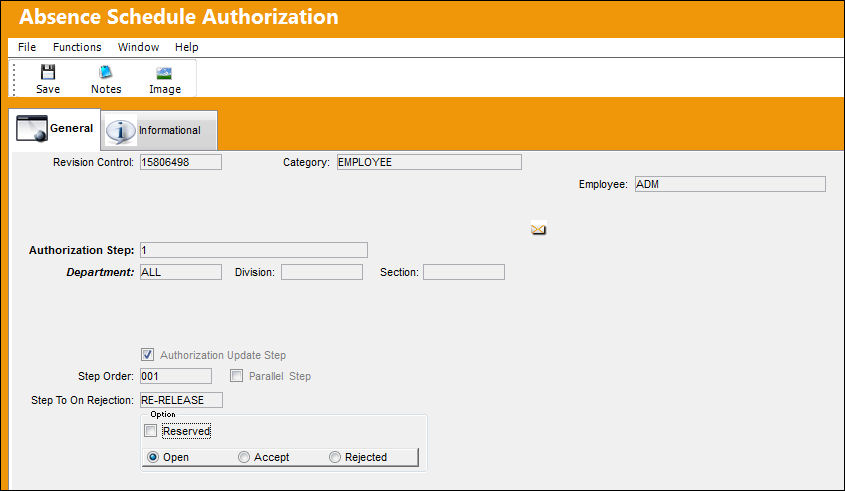
TRAX displays the Absence Schedule Authorization window:
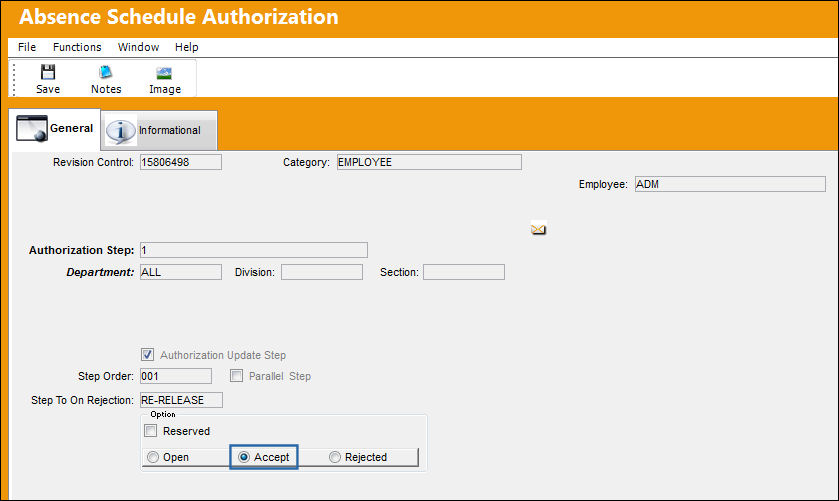
Select the 'Accept' radio button and select the Save  button. The Save prompt appears. Select 'OK.'
Upon being authorized, the Authorization Step displays the green icon. If it is the only Authorization Step to be completed, it is no longer found in the Absence Schedule Authorization Explorer.
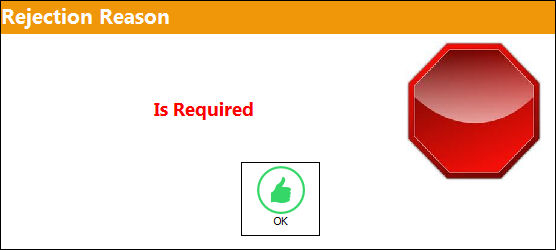
The user may also choose to reject an Absence Schedule Authorization Step. Select the Rejected radio button and select the Save button. When rejecting an Authorization Step, the Rejection Reason field shows in the window. It is mandatory to populate the reason then rejecting an Authorization Step. The user also has the option to Reserve a Rejected Authorization Step.
If a user rejects an Authorization Step and does not enter a Rejection Reason, the following prompt will appear and a reason must be entered:
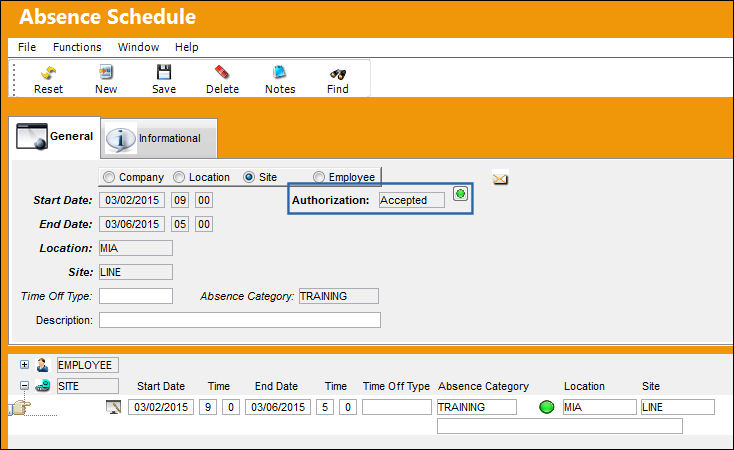
Once all authorization steps are authorized, the absence request will change from 'Pending' to 'Accepted.'
The Absence request has changed from 'Pending' to 'Accepted' in the Absence Schedule window as shown below:
Share
Print
|
©1997-2026 Trax USA Corp. All rights reserved. This manual may not be copied, photocopied, reproduced, translated, or converted to any electronic or machine-readable form, in whole or in part, without prior written approval from Trax USA Corp. |
 |