
 Share
Share
 Print
Print
|
|
|
|
|


TraxDoc Authorization Routing and Steps
Settings/ Explorer/ System Transaction Code/ TraxDoc/ TraxDoc Authorization Routing
From the TraxDoc Authorization Routing transaction codes, users can input Authorization Steps by selecting the Authorization Steps  button.
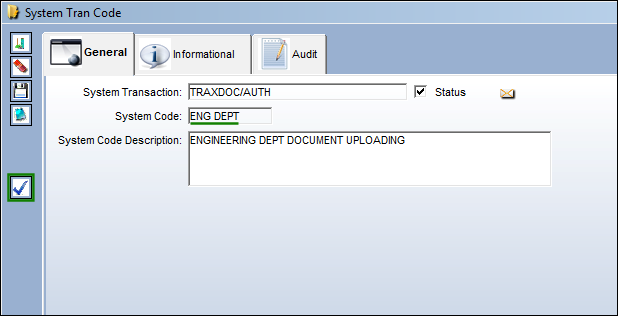
From the TraxDoc Authorization Steps window, users can create one or multiple steps that would be required in order for a TraxDoc to be authorized. All TraxDocs with this Authorization Routing tran code will need to go through all of these authorization steps.
Further, each step is linked to an Authorization Group. Only users within the Authorization Group will be allowed to authorize said step.
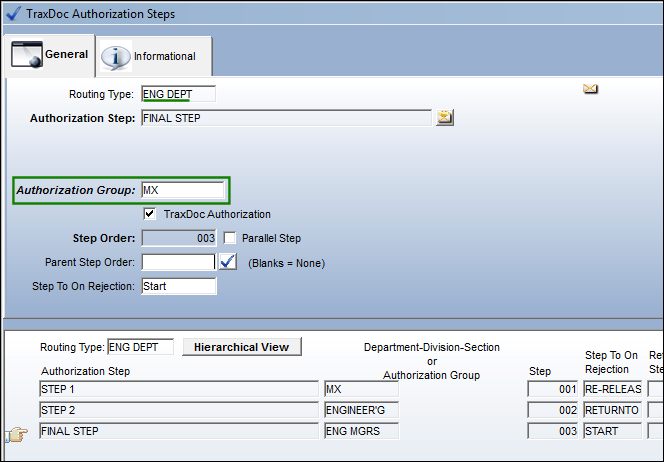
The TraxDoc Authorization checkbox is vital for this process. It must be selected to indicate that this step is the final authorization step. If this checkbox is not selected for the final step, the TraxDox will not be authorized.
Note: For detailed information on how to create Authorization Steps, refer to Create Authorization Routing Steps.
For more information on adding users to Authorization Groups, refer to Assigning TraxDoc Authorization Groups.
Share
Print
|
©1997-2026 Trax USA Corp. All rights reserved. This manual may not be copied, photocopied, reproduced, translated, or converted to any electronic or machine-readable form, in whole or in part, without prior written approval from Trax USA Corp. |
 |