
 Share
Share
 Print
Print
|
|
|
|
|


Image Button
The Image  button is a standard button found throughout the system. The following is just one example of the Image button as displayed in TRAX.
The Image button allows users to add an image(s) as an attachment. Enter the full path (network or other) that contains the image the user would like to associate with the currently selected record.
Note: Images can only be in the following formats, .JPG, .TIFF, .BMP or .PNG.
From a window to which it is available, select the Image button. From the Image Control window, select the New  button. The 'Line Document Title' field becomes available.
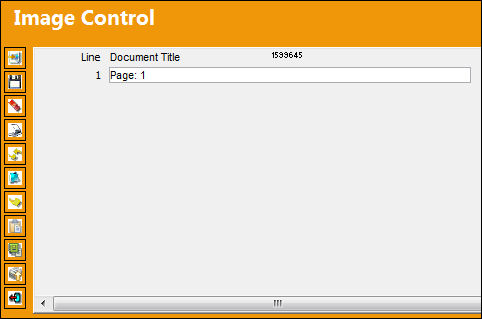
Select the appropriate button/option - scan, paste, screen shot, upload, or export. In the following example, the user will select the Upload  button.
Select the Upload button.
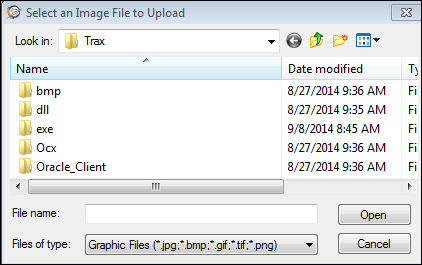
TRAX displays the Select an Image File to Upload window. Select the image to be attached to the record. Notice that the file type can only be .JPEG, .BMP, .GIF or .PNG.
Select the Open button once an image is highlighted in blue.
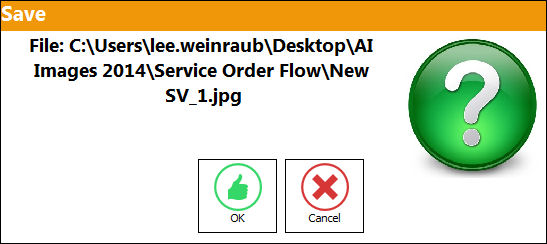
TRAX displays the following Save prompt. Select OK to attach the image to the E/C.
The image is now attached to the E/C. to view the image, click on the Select  button, or double click in the Image Control window.
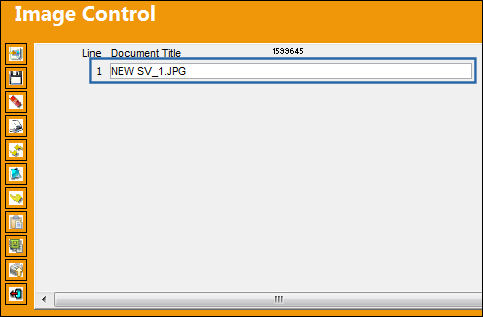
Note: When OK is selected in the Save prompt in the EVO 1 release, the image appears immediately, without having to click on the Select button, or double click in the Image Control window.
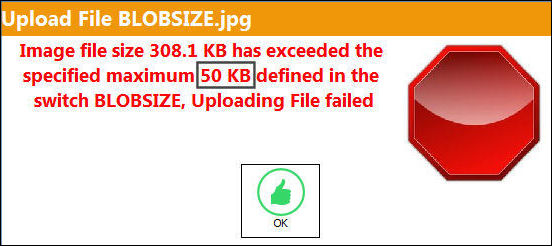
Note: If the image selected is too large, the following error message will appear. The user may adjust the maximum defined size of the image in Switch  BLOBSIZE.
BLOBSIZE - Specify the maximum file size (in kilobytes) for Blob (scanned picture files) storage. System will give warning if a file larger than the size specified here is saved.
TRAX displays the image as shown below:

Select the Save  button to save the image. Once the user does this, the image will be saved to the Blob table in the database. The name of the document that is associated to the image will appear in the Document Title field of the Image Control box.
Select the New button to attach multiple images to the E/C.
Select the Delete  button to delete one or more images from the E/C.
Select the Save button.
Select the Exit  button to close.
Share
Print
|
©1997-2026 Trax USA Corp. All rights reserved. This manual may not be copied, photocopied, reproduced, translated, or converted to any electronic or machine-readable form, in whole or in part, without prior written approval from Trax USA Corp. |
 |