
 Share
Share
 Print
Print
|
|
|
|
|


Email Signature
From the User Settings, Functions tab, select the Email Signature button.
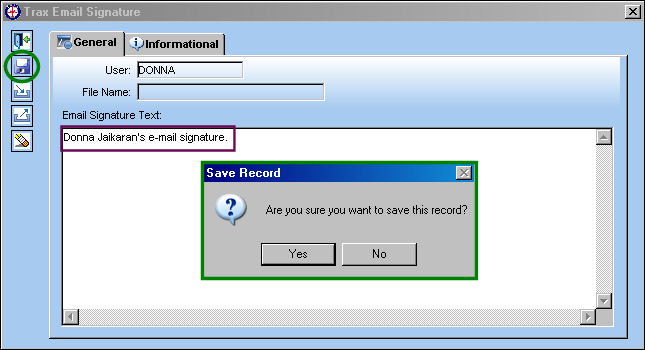
TRAX displays the Trax Email Signature window.
Enter text in the Email Signature Text field. Select the Save  button. The following Save prompt appears. Select 'Yes'.
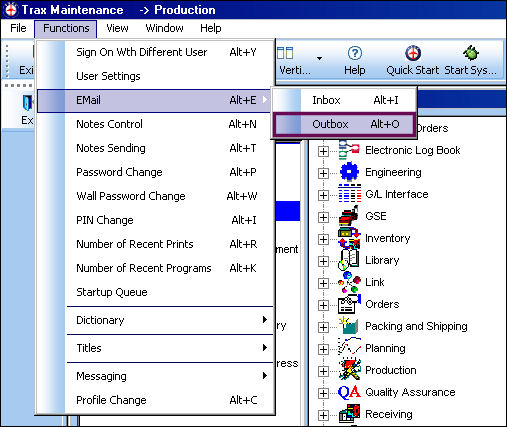
Return to the Control Panel and go to Functions tab/ Email/ Outbox.
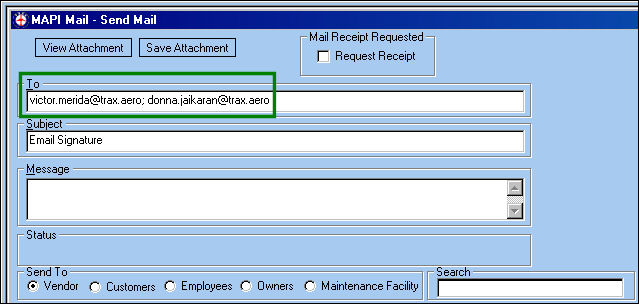
TRAX displays the MAPI Mail - Send Mail window. Populate the To field with email recipient(s) and select the Send Mail  button.
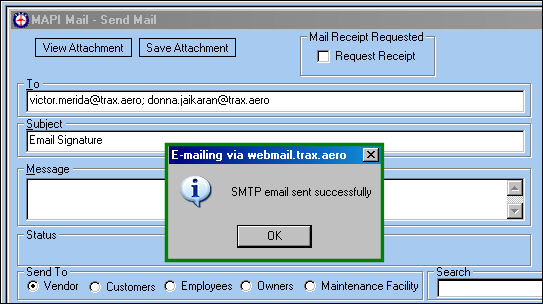
The following information box appears informing the user that the email has been sent successfully:
The recipients have received the email:
Import Button:
Set Up:
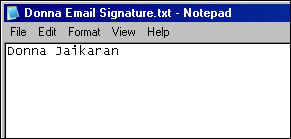
Create a .txt file with users signature:
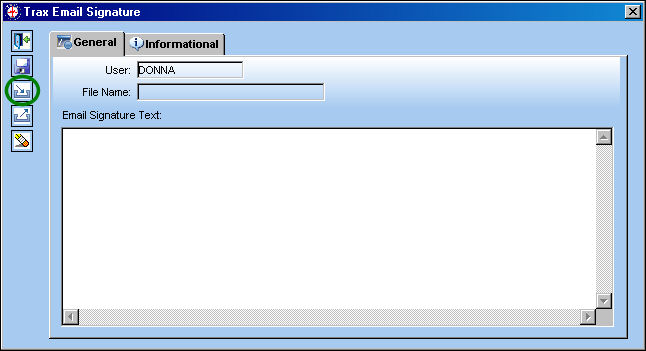
Go to the Control Panel/ Functions tab/ Email Signature button. Select the Import  button.
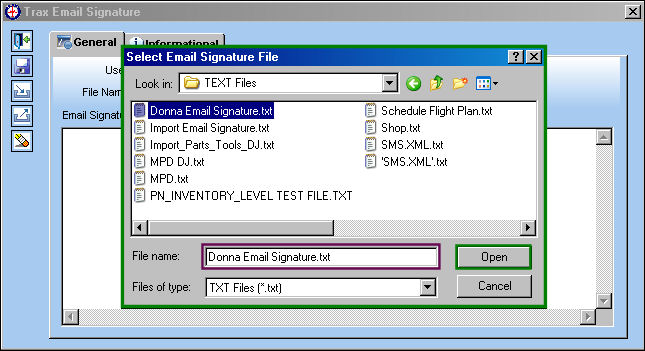
From the following window, navigate to the desired .txt file and select 'Open'.
The following pop-up window appears to inform the user that the Email Signature File has been uploaded successfully. Select 'OK'.
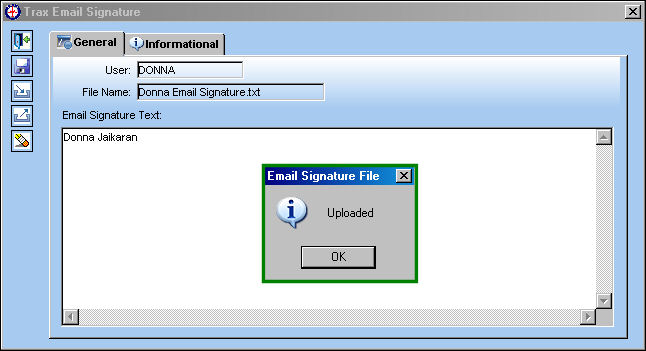
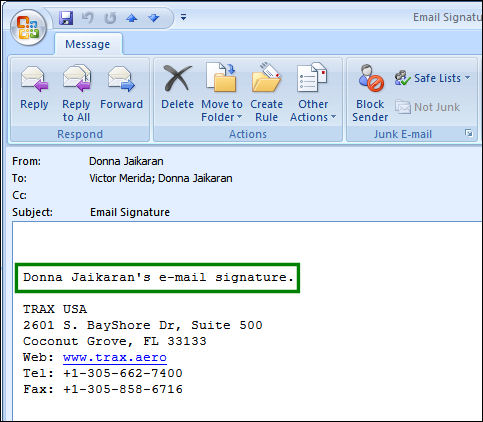
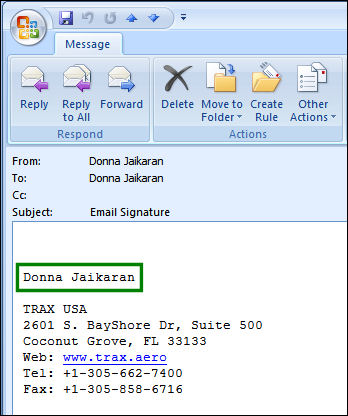
The recipient has received the email:
Export Button:
the Export  button is used to export a .txt file to a specified location.
Create a .txt file with users signature:
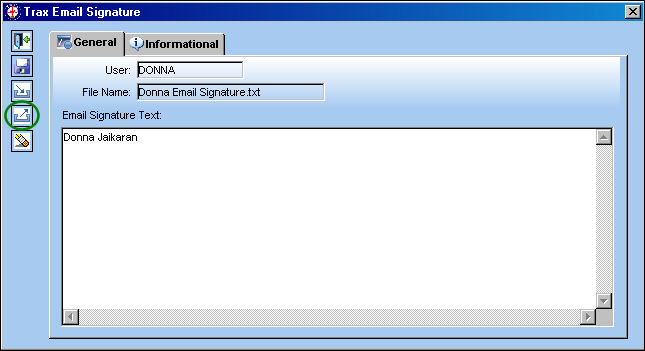
From the Trax Email Signature window, select the Export button.
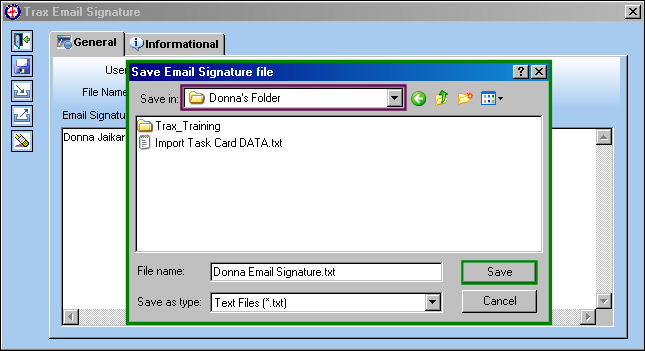
From the following window, navigate to the desired location and select 'Save'.
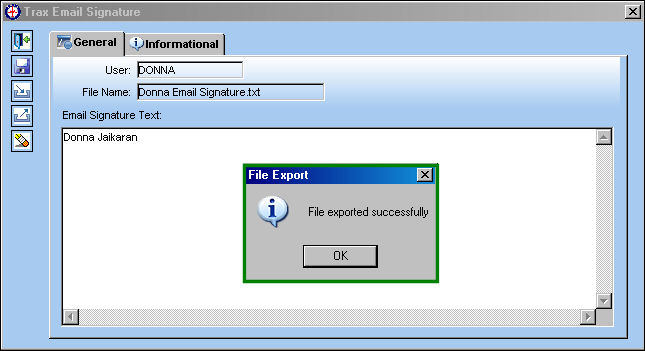
The following pop-up window appears to inform the user that the Email Signature File has been exported successfully. Select 'OK'.
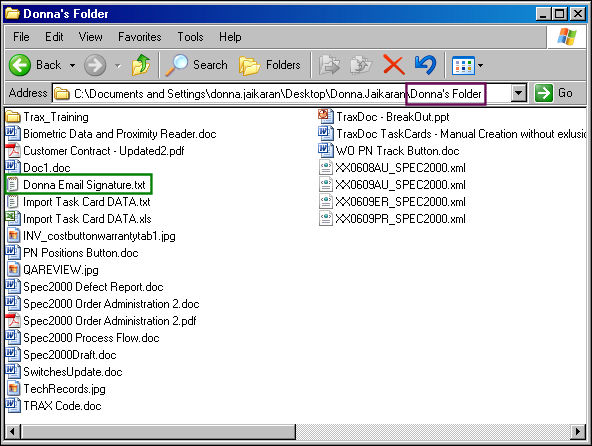
The .txt file has been exported to the specified folder:
Share
Print
|
©1997-2026 Trax USA Corp. All rights reserved. This manual may not be copied, photocopied, reproduced, translated, or converted to any electronic or machine-readable form, in whole or in part, without prior written approval from Trax USA Corp. |
 |