
 Share
Share
 Print
Print
|
|
|
|
|


Import Button, via P/N N/L/A Creation
The NLA Import  button is used to quickly import N/L/As into the system. This option allows the user to create a digital file listing these N/L/As. The import process allows the user to efficiently import parts through a .txt file into the application. This allows the assignment of N/L/As at the time of import. When selected, an NLA part(s) is loaded into inventory.
Switch  ACPNIMPORTDETAIL affects the functionality of the import process. When set to Yes, the user is able to import the actuals for 5 unique P/N Controls for each part. When set to No, the user is not able to import the actuals for P/N Controls. For more information, refer to Switch ACPNIMPORTDETAIL via the Technical Records Switches Manual.
Before selecting the NLA Import button, the N/H/A P/N and S/N must be entered and found. The N/L/A part will then be displayed.
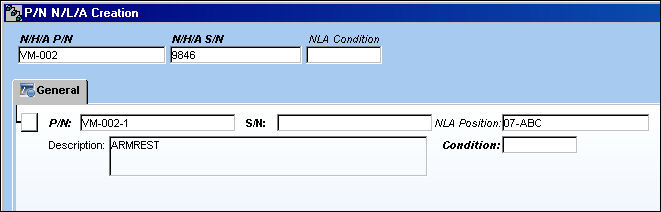
The P/N N/L/A must be previously set up via the P/N Master, N/L/A  button. For more information refer to the N/L/A Button via the P/N Master section of the Settings Training Manual.
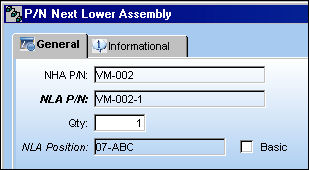
First, the user must prepare the file. For information regarding how to prepare the import file, refer to Preparing File For Import, via the Import Button of the System Standards Training Manual.
Criteria for the N/L/A import file:
Release |
Column Name |
Data Type |
Limitation |
Path |
|
P/N |
Alphanumeric |
35 |
Technical Records/ Update/ P/N N/L/A Creation |
|
S/N |
Alphanumeric |
20 |
Technical Records/ Update/ P/N N/L/A Creation |
|
NHA P/N |
Alphanumeric |
35 |
Technical Records/ Update/ P/N N/L/A Creation |
|
NHA S/N |
Alphanumeric |
35 |
Technical Records/ Update/ P/N N/L/A Creation |
|
NLA Position |
Alphanumeric |
20 |
Technical Records/ Update/ P/N N/L/A Creation |
|
P/N Control 1-5 |
Alphanumeric |
8 |
Inventory/ Update/ Inventory Transaction/ Inventory Transaction Detail/ Control button |
|
Actual Hours/Min 1-5 |
Numeric |
20 |
Inventory/ Update/ Inventory Transaction/ Inventory Transaction Detail/ Control button |
|
Actual Days 1-5 |
Numeric |
6 |
Inventory/ Update/ Inventory Transaction/ Inventory Transaction Detail/ Control button |
|
Reset Date 1-5 |
Numeric |
8 |
Inventory/ Update/ Inventory Transaction/ Inventory Transaction Detail/ Control button |
|
Condition |
Alphanumeric |
8 |
Technical Records/ Update/ P/N N/L/A Creation |
|
Accrual Hours/Min |
Numeric |
6 |
Inventory/ Update/ Inventory Transaction/ Inventory Transaction Detail |
|
Accrual Cycles |
Numeric |
6 |
Inventory/ Update/ Inventory Transaction/ Inventory Transaction Detail |
|
Accrual Days |
Numeric |
6 |
Inventory/ Update/ Inventory Transaction/ Inventory Transaction Detail |
|
Birthdate |
Numeric |
6 |
Inventory/ Update/ Inventory Transaction/ Inventory Transaction Detail |
|
Installed Date |
Numeric |
8 |
Technical Records/ Update/ P/N N/L/A Creation |

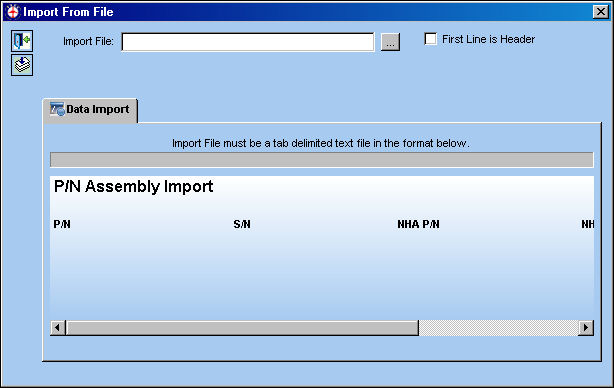
When the Import button is selected, the following Import From File window appears. Click the Select File to Import  button.
For information regarding how to Import a file, refer to Importing a File via Import Button of the System Standards Training Manual.
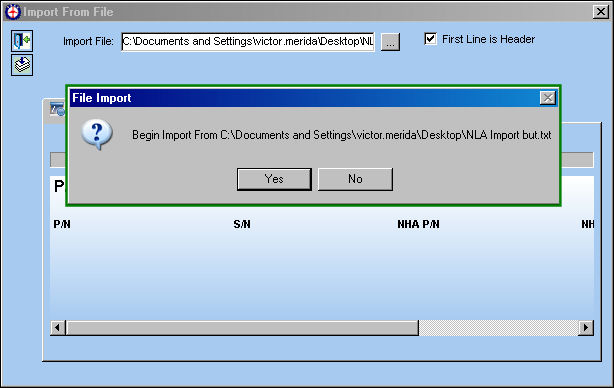
Select Yes at the confirmation prompt.
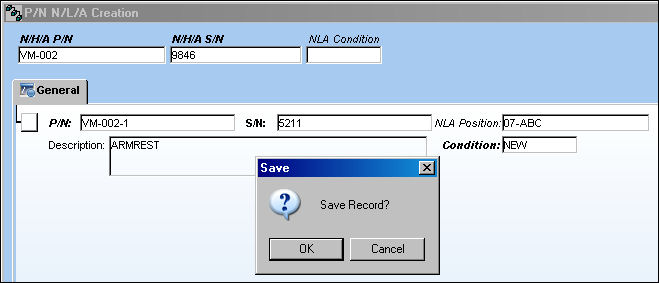
Once the information is brought into the P/N N/L/A Creation window, save the window.
From the P/N Explorer via Inventory/Explorer, notice that the assembly has been successfully brought into Inventory.

Users can only add a S/N to the first level N/L/A of the N/H/A entered in the window through the Import button. The N/H/A P/N and S/N fields in the import text file will always be the same.
For specific information regarding the Import button which is found throughout TRAX, refer to Import Button, via Standard Buttons in the System Standards Training Manual.
Share
Print
|
©1997-2026 Trax USA Corp. All rights reserved. This manual may not be copied, photocopied, reproduced, translated, or converted to any electronic or machine-readable form, in whole or in part, without prior written approval from Trax USA Corp. |
 |