
 Share
Share
 Print
Print
|
|
|
|
|


Picklist Issue (Murata)
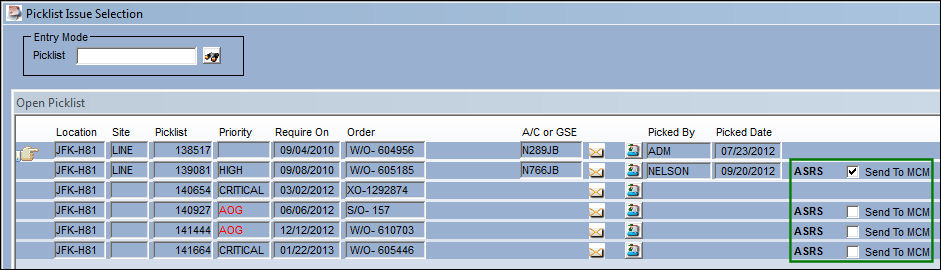
From the Picklist Issue Selection window (via Inventory Transaction, Picklist Issue button), all Murata Picklists are marked as ASRS (Automated Storage and Retrieval System). Each ASRS Picklist contains the Send To MCM checkbox. When selected, these Picklists will be sent to the Murata Queue. To send the request for the MCM to retrieve the required Bins necessary for the Picklist, select the ASRS  button.
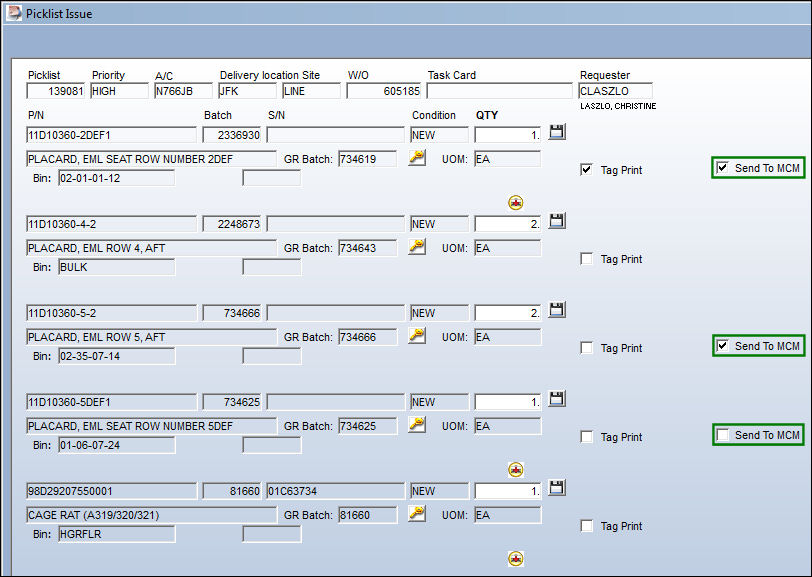
From the Picklist Issue detail window, users also have the option of selecting individual parts from a Picklist instead of the entire Picklist to send to the Murata Queue. Users can select the Select All  button or Deselect All
  button from this window.
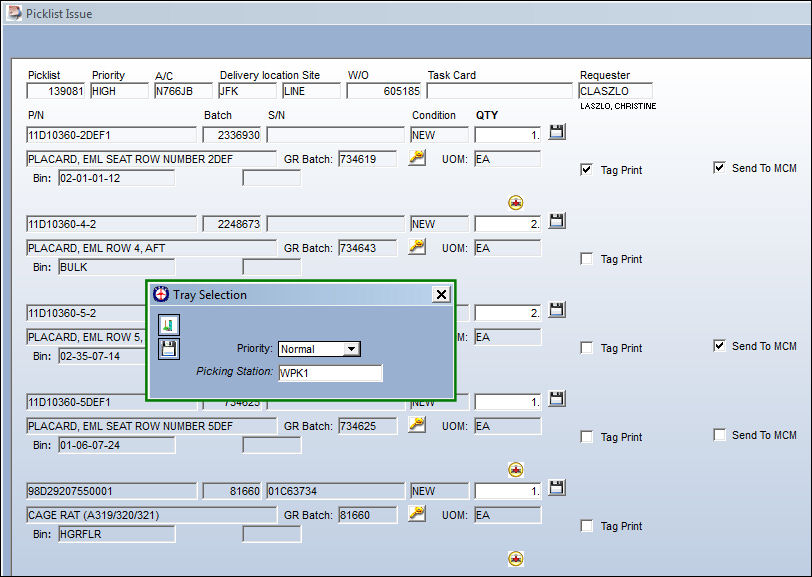
Once the ASRS button is selected, the request is sent to the Murata Queue. But after the button is selected, the Tray Select prompt appears. From this prompt, users must select the Priority (Normal or High) and the Picking Station. The Priority level will help organize the transactions by priority in the Murata Queue. Those Trays with High priority will be retrieved before those with Normal Priority.
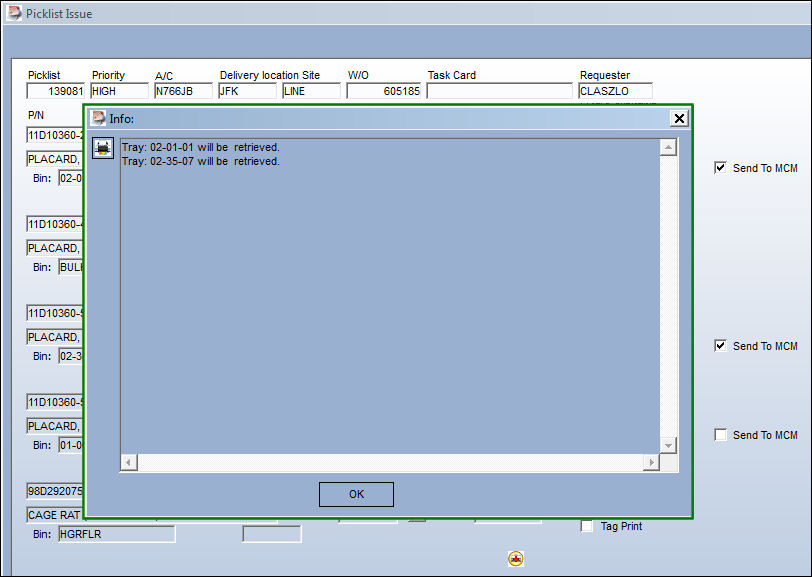
The Tray information for the retrieval request will be listed in the following prompt. If the required Tray is already being retrieved through another request, an error message will appear in the prompt.
Completing an MCM Picklist Issue:
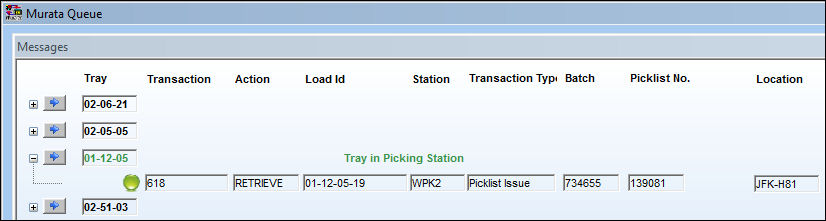
Once a Picklist Issue request is in the Murata Queue, users must wait for the Tray containing the required Bin to be delivered to the Picking Station. Once delivered, go to the Murata Multifunctional Screen by selecting into the transaction.
From the Murata Multifunctional Screen, the required Bin is highlighted in green. Select the Picklist Issue  button.
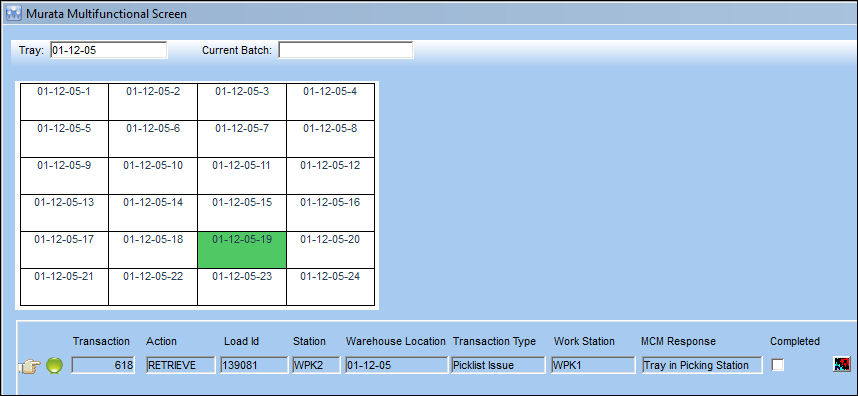
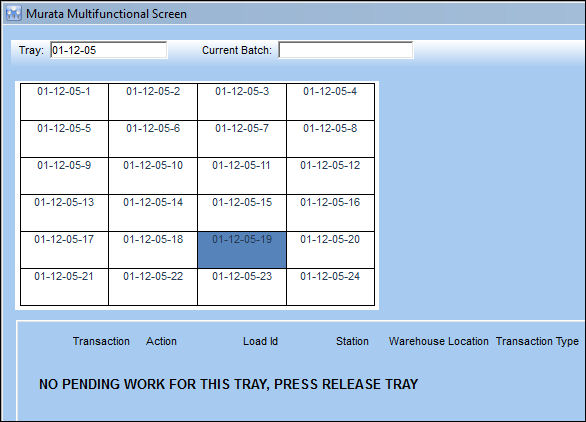
 The Bin containing the pending Murata request(s) will be highlighted in blue, Bins that contain a part are green, and empty Bins are white.
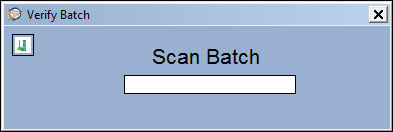
When selected, enter the Batch into the Verify Batch pop-up. The Batch can be entered manually or the Batch can be scanned with a hand-held scanner.
Users are then sent directly into the Picklist Issue window with all of the Picklist information displayed.
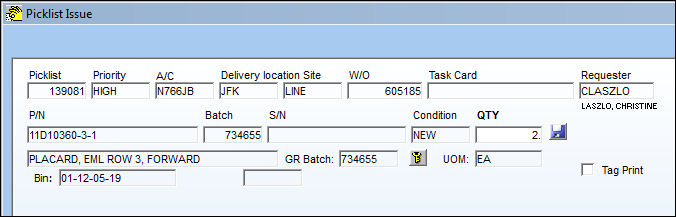
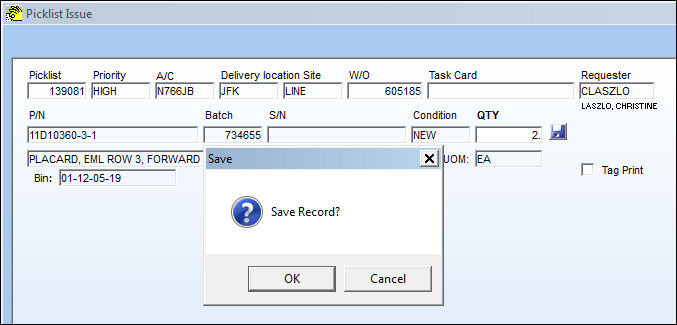
Complete the Picklist the save.
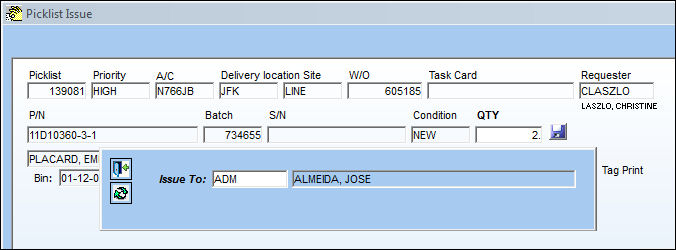
Enter the Issue To user.
From the Murata Multifunctional Screen, because the Picklist Issue has been completed, the transaction is removed. At this point, if there is no more work to be performed for the Tray (such as in the below example), the Tray can be sent back to the warehouse by selecting the Release Tray  button.
The Picklist Bin Transfer  button allows users to move the Picklist Batch from one Bin to another Bin when the P/Ns reserved by the Picklist are part of an inventoried Batch with other, un-reserved parts. For these reserved/Picklisted parts, a new Batch is created separate from the Batch with the other, un-reserved parts. This new Picklist Batch is then transfered to another Bin. The P/N Identification Tag print comes up when the transfer is complete.
Share
Print
|
©1997-2026 Trax USA Corp. All rights reserved. This manual may not be copied, photocopied, reproduced, translated, or converted to any electronic or machine-readable form, in whole or in part, without prior written approval from Trax USA Corp. |
 |