
 Share
Share
 Print
Print
|
|
|
|
|


Transfer Order (Murata)
To perform/complete a Transfer Order through the Murata Interface, go to the Inventory Transaction window and select the ASRS  button. The Murata Transfer Order window appears. From this window users can search for Batch, P/N and/or S/Ns. Enter the parts for the Transfer Order.
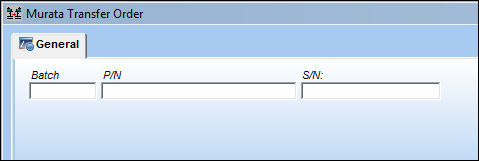
Once the T/O list is complete, select the Request Tray  button to send the T/O request to the Murata Queue. The MCM will then retrieve the Tray.
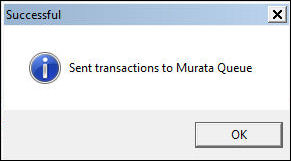
Notice the request has been sent to the Murata Queue.
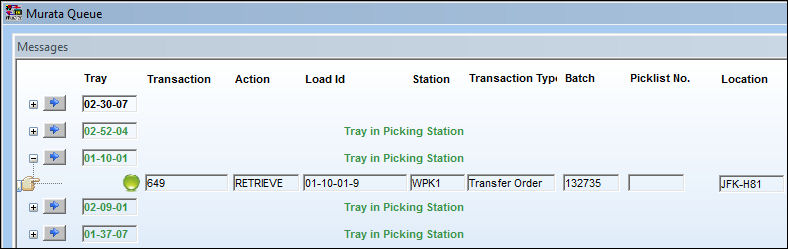
Once the Tray arrives at the Picking Station, open the Murata Multifunctional Screen then scan the Tray. Select the transfer Order transaction then select the Transfer Order  button.
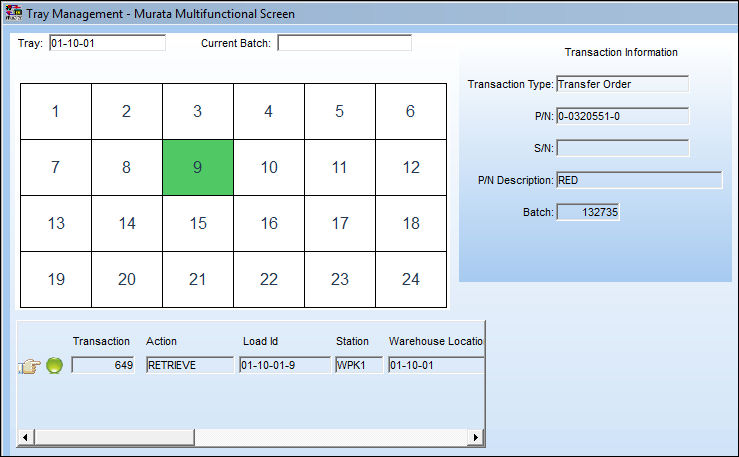
 The Bin containing the pending Murata request(s) will be highlighted in blue, Bins that contain a part are green, and empty Bins are white.
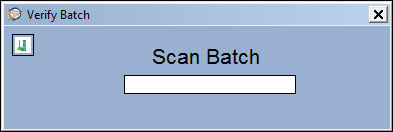
When selected, enter the Batch into the Verify Batch pop-up. The Batch can be entered manually or the Batch can be scanned with a hand-held scanner.
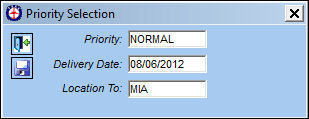
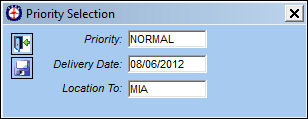
The Priority Selection prompt appears. Enter the Priority, Delivery Date, and which Location the T/O is being delivered to.
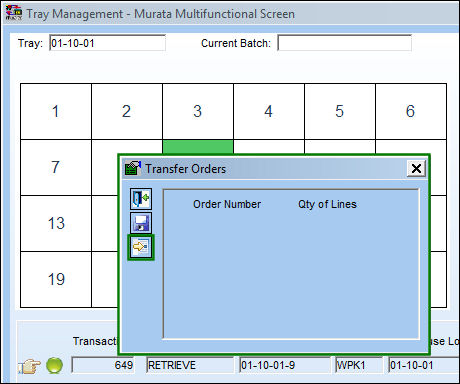
The following prompt appears. Users can either create a new line item for an existing Transfer Order by selecting the T/O then clicking the Save  button or users can create a new T/O for the part by selecting the New
  button. In this example, because their are no Transfer Orders existing, the New button is selected.
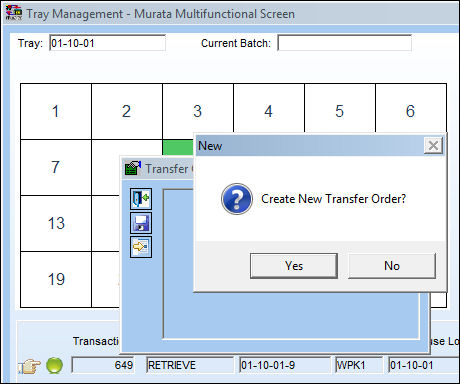
Select Yes to create a new Transfer Order.
The Transfer Order Detail appears with all information populated. Select the Save button to save the T/O.
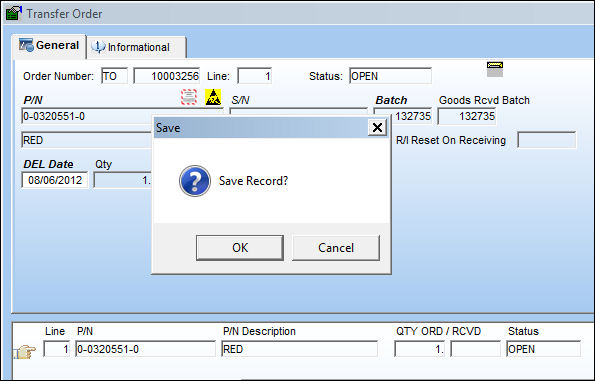
The following prompt appears confirming that the T/O was created.
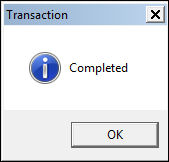
From the Murata Queue, the request was also made for a T/O.
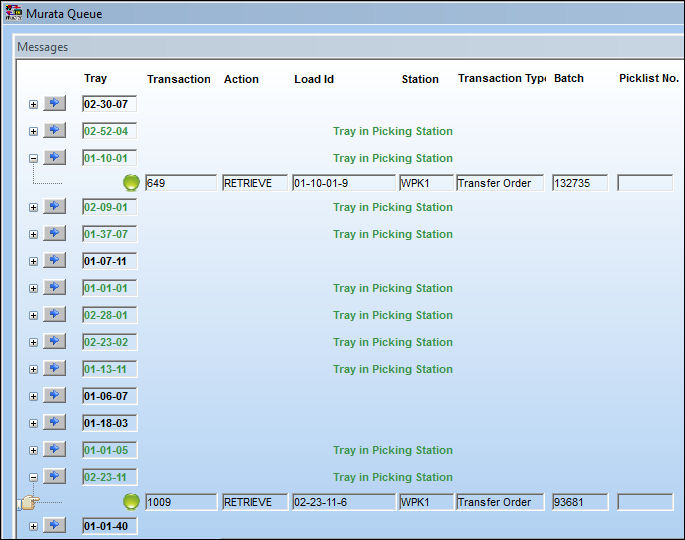
The request Tray is then selected.
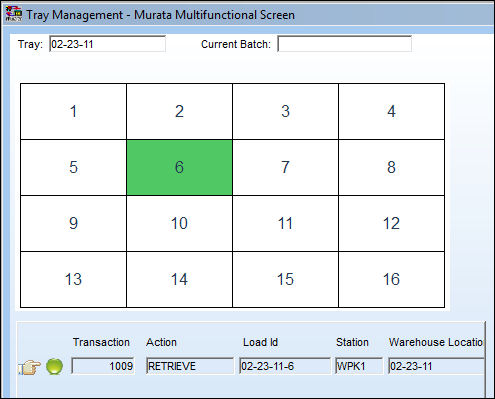
The Transfer Order button is then selected for the other necessary T/O. Enter the necessary information.
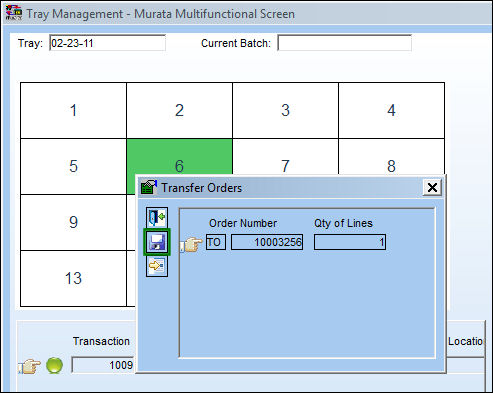
The Transfer Orders prompt again pops up. Now, users have the option to add the part to the already existing T/O by selecting the Save button.
The previously created Transfer Order then comes up with the part information detailed in a new line item (2). Select the Save button to save the new T/O line item.
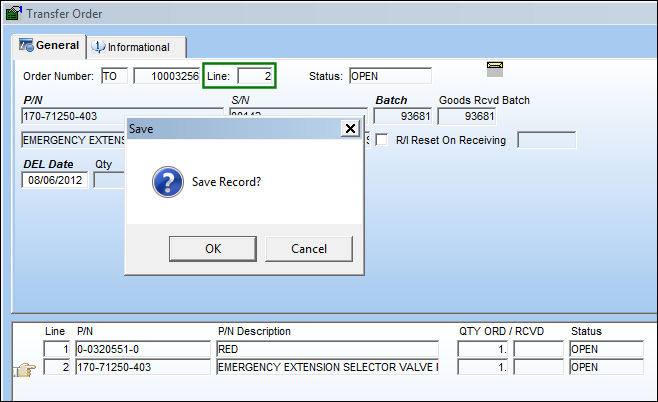
The following prompt appears confirming that the new T/O line item has been created.
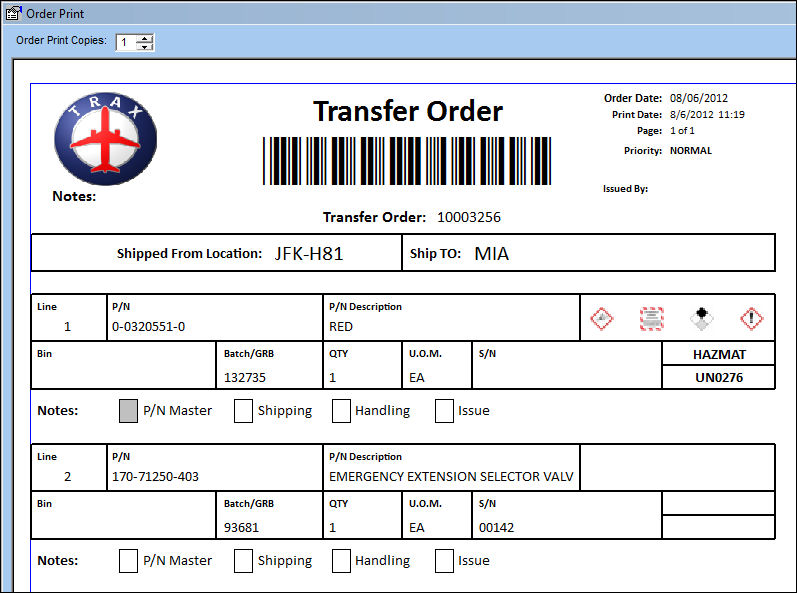
When the window is exited, the following Transfer Order print appears for the T/O and its two line items.
Share
Print
|
©1997-2026 Trax USA Corp. All rights reserved. This manual may not be copied, photocopied, reproduced, translated, or converted to any electronic or machine-readable form, in whole or in part, without prior written approval from Trax USA Corp. |
 |