
 Share
Share
 Print
Print
|
|
|
|
|


The No Fly button allows users to create No Fly Work Orders within the interactive planner. No Fly Work Orders function similarly to other W/Os and are used to designate a period in which flights should not be scheduled. Select the button and click-and-drag the selection in a vacant area of the Display By Area. Once the selection is released, the W/O creation pop up window is displayed and the W/O Category is automatically set to a No Fly transaction code. Users may have to create the No Fly transaction code or use a pre-existing transaction code with the No Fly checkbox selected. For more information, refer to W/O Category via Production Transaction Codes.
 Note: The No Fly button is security controlled via Security Explorer/Planning/Query/Interactive Planner/Interactive Planner No Fly Button. For more information, refer to the Security Explorer via the System Administration Training Manual.
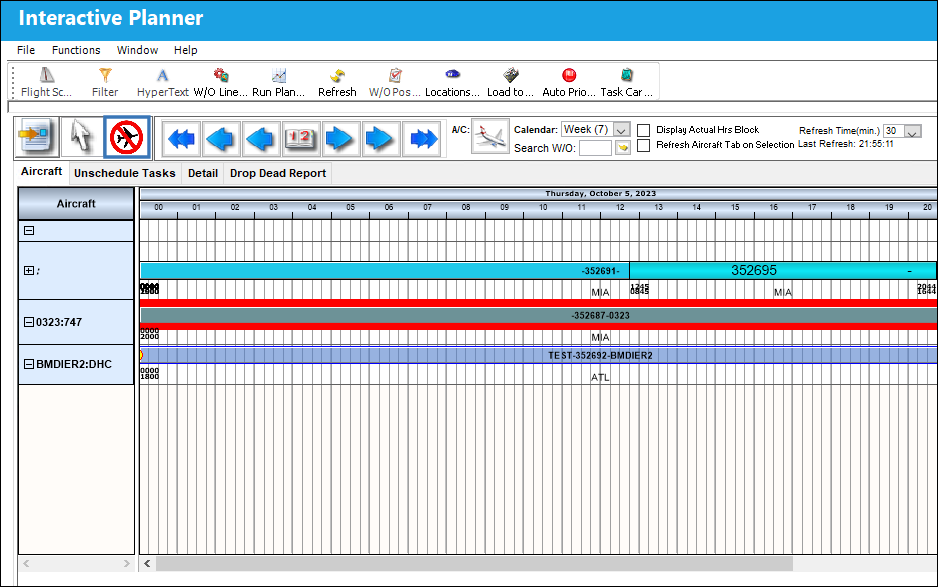
Note: This button and the No Fly functionality is customer specific and will only be available to certain operators.
Creating a Non-Fly Work Order
Select the Non Fly button within the Interactive Planner window.
In the desired section of the Display By Area, click-and-drag a selection to represent the duration of the Work Order.
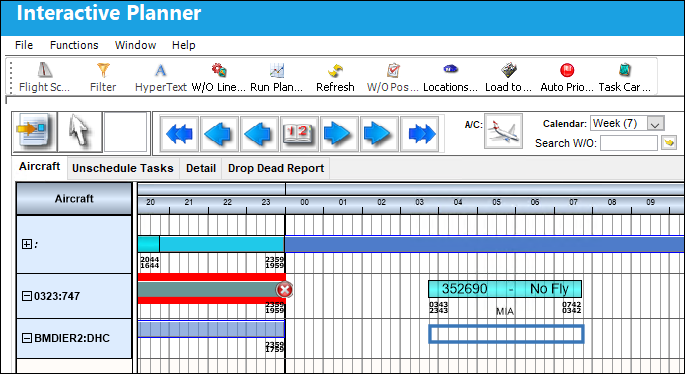
Once the selection is released, the W/O creation pop up window is displayed. The W/O Category is automatically set to a No Fly transaction code.
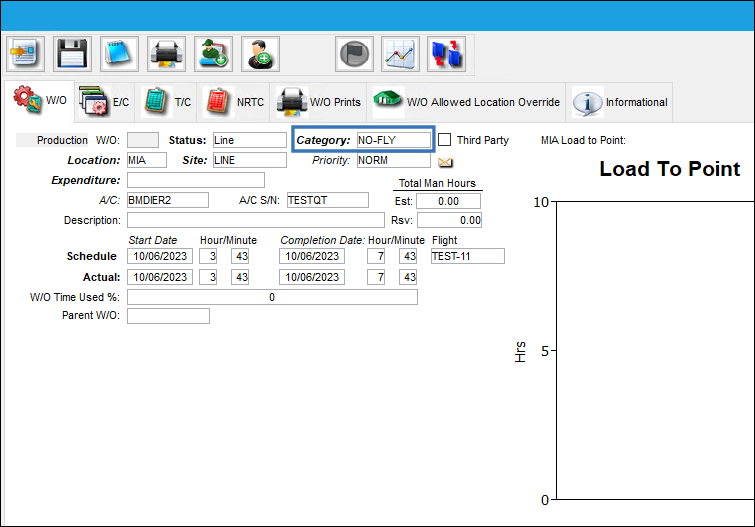
Populate the fields of the Work Order and select the Save button.
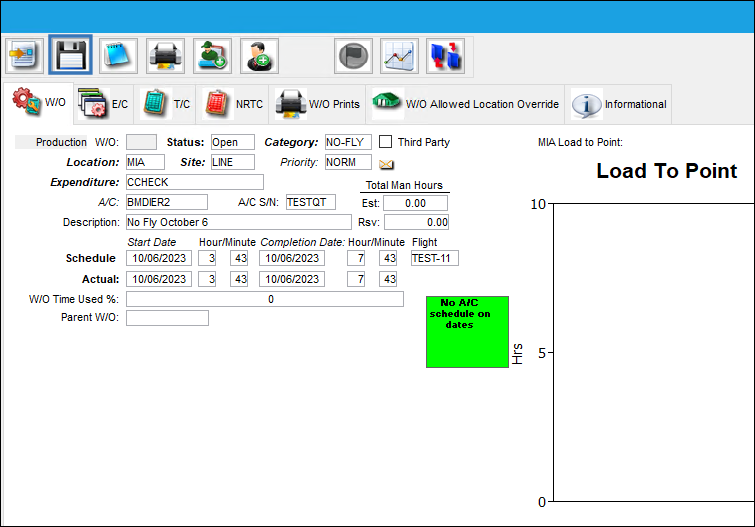
Once saved, the W/O number is generated and the Load to Point graph is populated. Exit the W/O window.
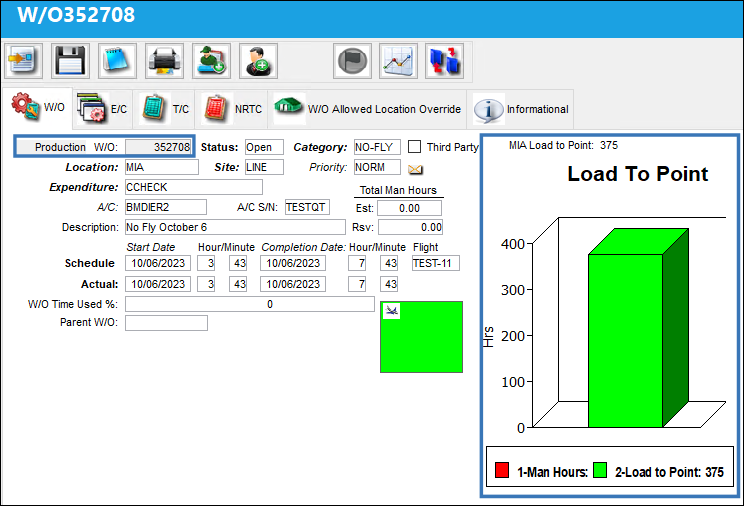
The No Fly Work Order is successfully created and placed in the designated area.
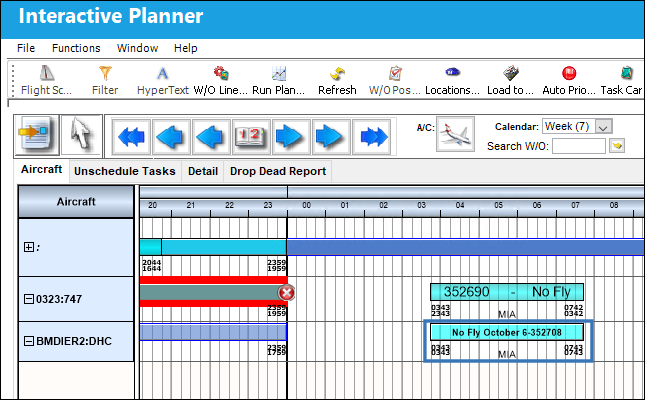
Note: No Fly Work Orders can be created in-between scheduled flights and in vacant areas of the DIsplay By Area. However, they cannot be created within the same lines as scheduled flights and vice-versa.
Share
Print
|
©1997-2026 Trax USA Corp. All rights reserved. This manual may not be copied, photocopied, reproduced, translated, or converted to any electronic or machine-readable form, in whole or in part, without prior written approval from Trax USA Corp. |
 |