
 Share
Share
 Print
Print
|
|
|
|
|



Loading circuit breaker graphics will allow the customer to print the graphics during the printing process. Prior to Version 12.5, only the graphics referenced in the Task Card would be printed. Now, users have the option to include circuit breaker graphics referenced by the specified nomenclature as detailed below.
Files Set Up
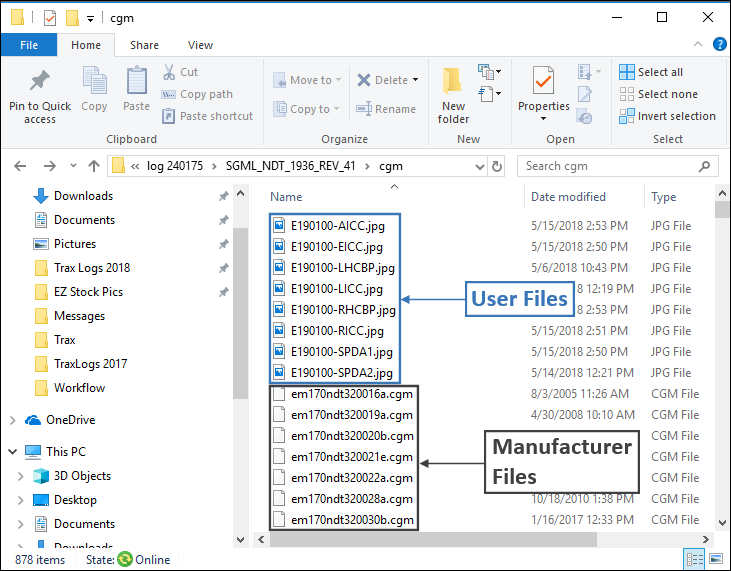
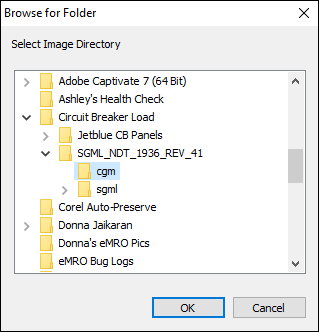
All circuit breaker graphics are in the CGM folder in the SGML folder provided by the manufacturer.
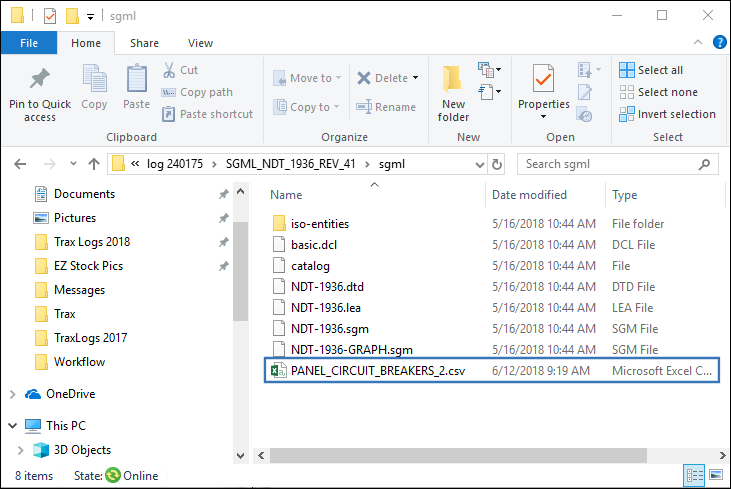
Each graphic must be named correctly, according to the nomenclature A/C Type + A/C Series + Circuit Breaker.
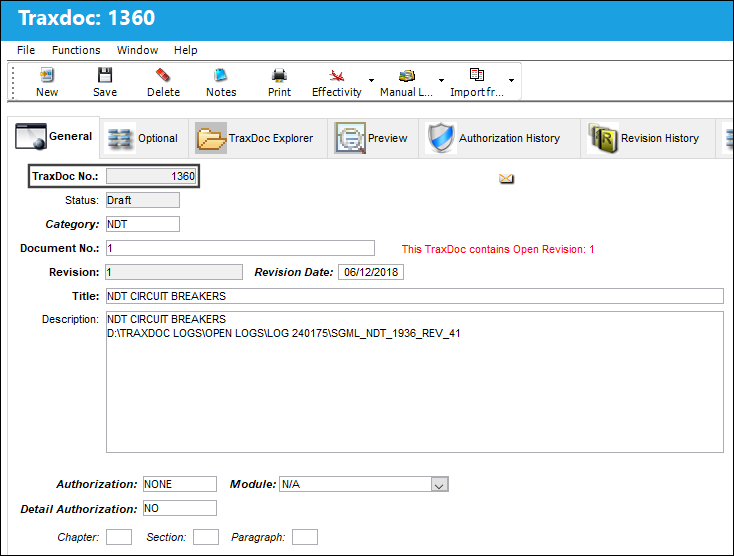
TraxDoc Set Up:
Create a new TraxDoc.
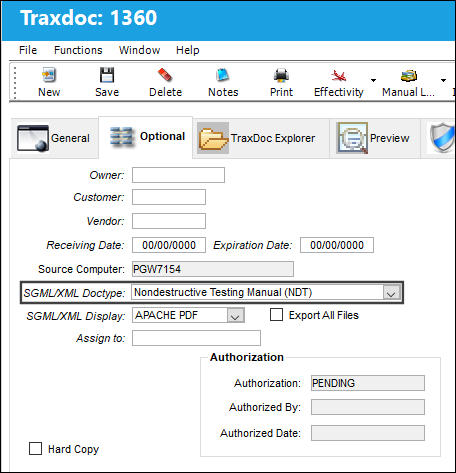
Specify the SGML/XML Doctype in the TraxDoc Document Detail, Optional tab. In this example, select Nondestructive Testing Manual (NDT).
Select the Effectivity  button to apply effectivity to the TraxDoc.
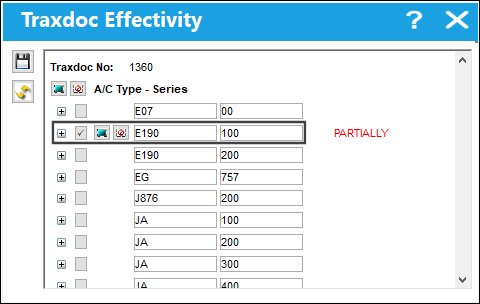
Loading an XML into TraxDoc:
To load an XML into TraxDoc, follow the steps below.
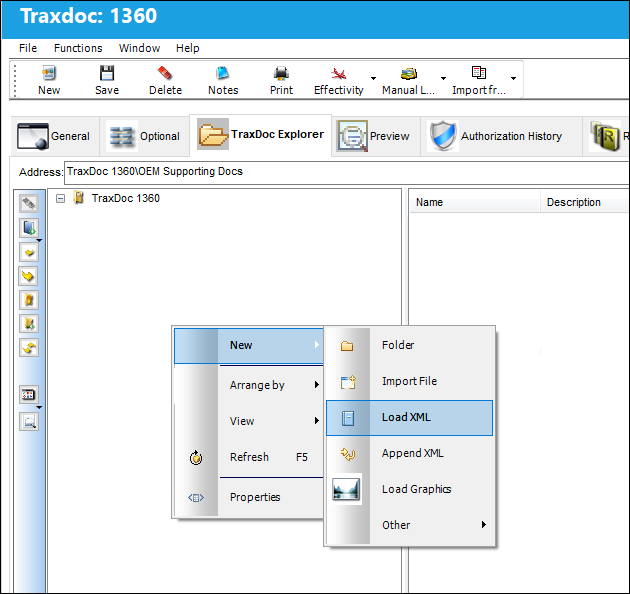
From the TraxDoc Explorer, right click and select the New/ Load XML  button as shown below. The user may also select the Load XML button from the File Multi
  button.
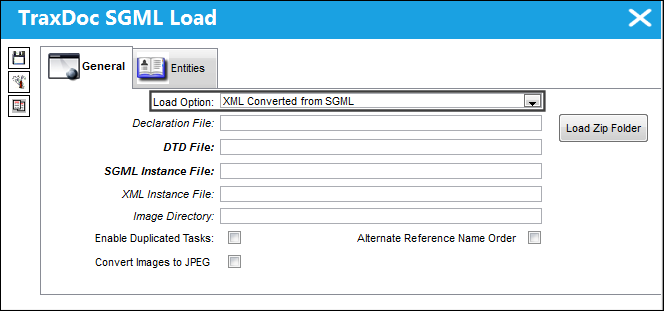
The TraxDoc SGML Load window pops up. Notice that the Load Option is automatically defaulted to 'XML Converted from SGML' for AMM manuals. The system will always default the load option to the recommended option.
Select into the SGML Instance File field.
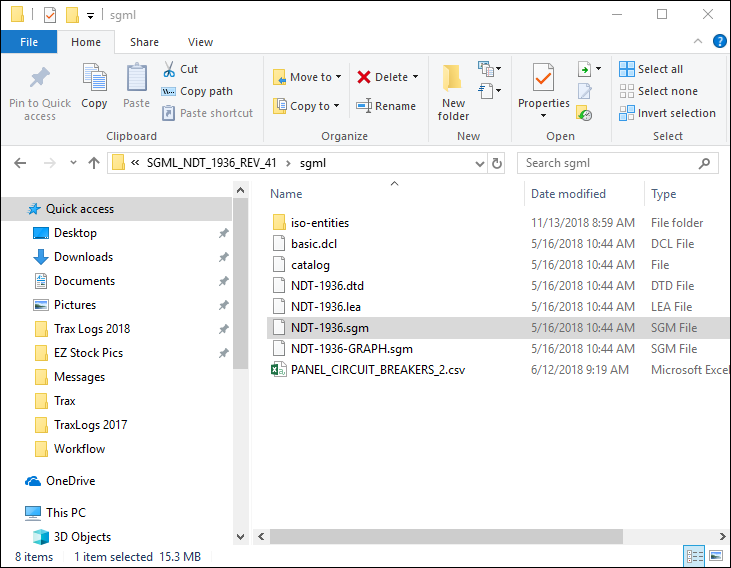
Once the user has selected into the SGML Instance File field, locate the desired SGML file.
The SGML Instance File as well as the DTD File are populated.
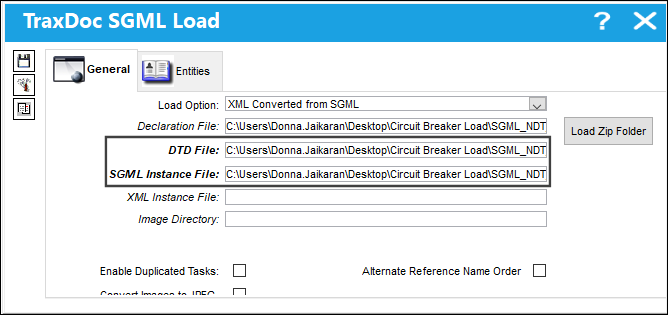
Load Graphics into TraxDoc:
To load graphics into a TraxDoc, follow the steps below.
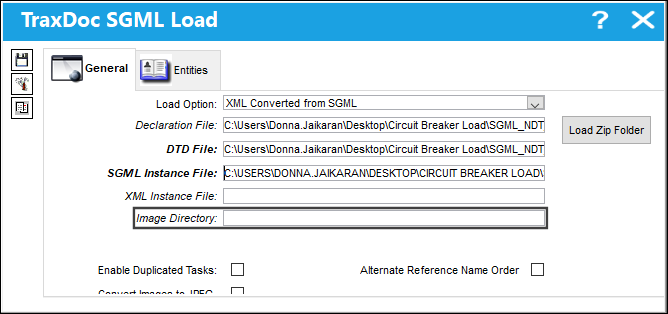
From the TraxDoc SGML Load window, select into the Image Directory field.
Select the folder that contains the desired images. Select 'OK.'
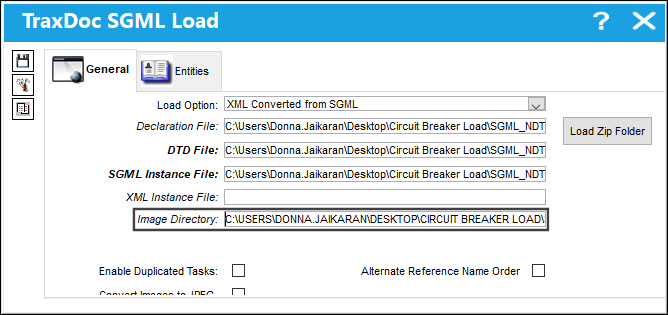
The Image Directory is specified.
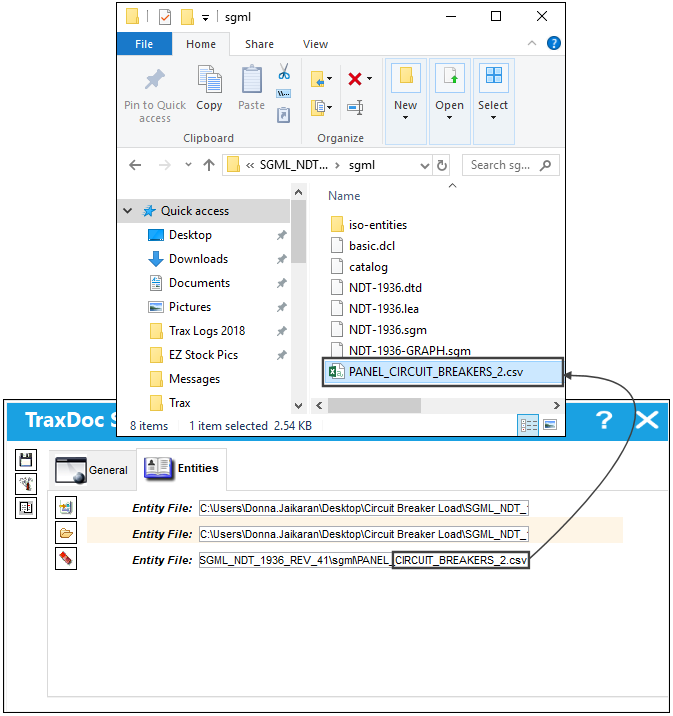
Go to the Entities tab. Notice that the CIRCUIT_BREAKER.csv file has been automatically selected as any other entity file. Select Save.
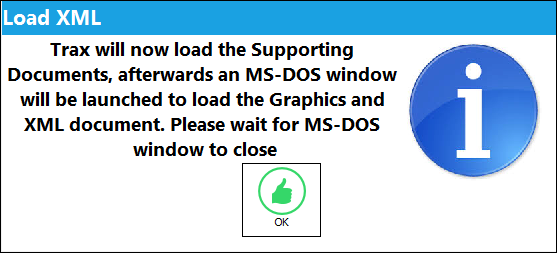
The following Load XML pop up will appear. Select 'OK' to continue with the load.
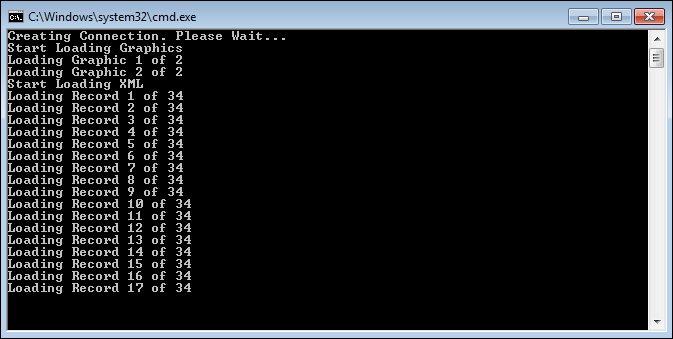
The following MS-DOC window will appear. The system will begin to load the records. The command window will remain open until the XML import is complete. This allows the user to review any errors that may have been generated by the process. Once all of the records have been loaded, the user may exit this window to continue.
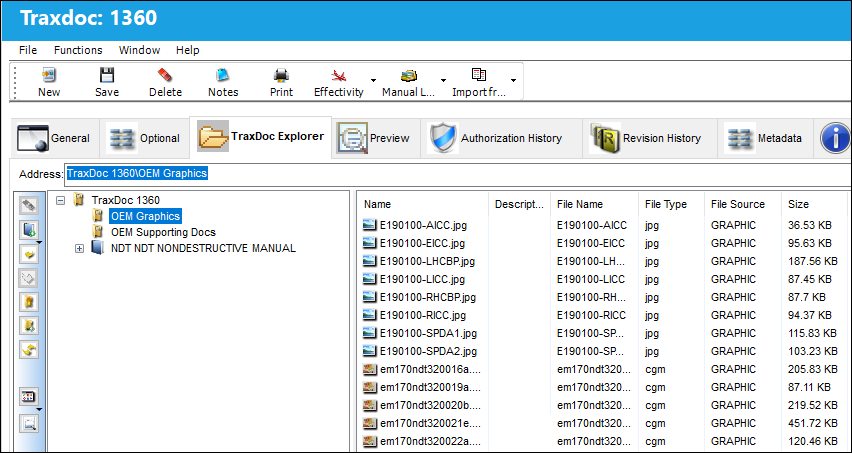
The manual and circuit breaker graphics from the user and manufacturer are loaded in the TraxDoc as shown below:
Load a Stylesheet into TraxDoc:
To load the stylesheet into the TraxDoc, follow the steps below.
Note: The stylesheet needs to modified so that the panels and circuit breaker graphics can be appropriately rendered during the printing process.
From the TraxDoc Explorer tab, select New/ Import File  button. The user may also select the Import File button from the File Multi button.
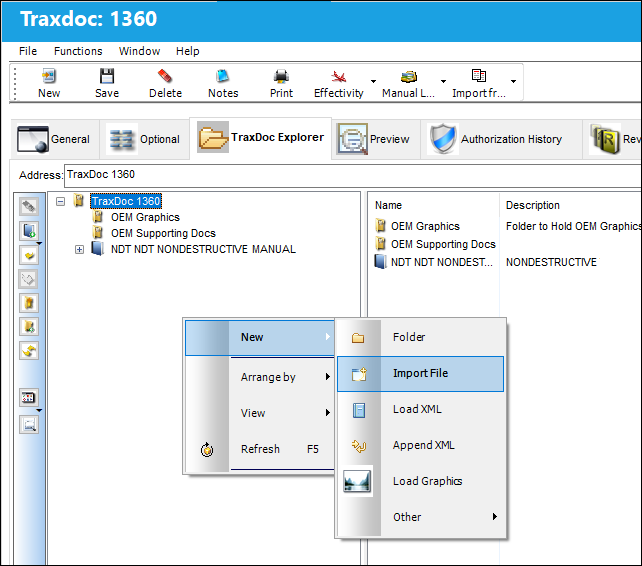
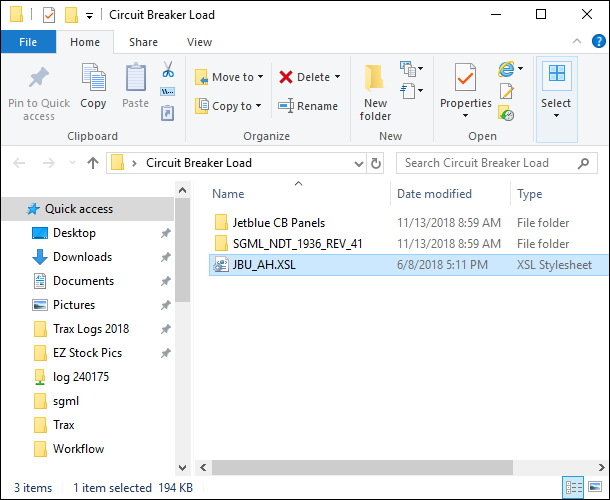
The Select File To Import pop up appears. Locate and select the desired Stylesheet to be imported.
The Stylesheet will be populated in the File Path. Specify the File Type as 'STYLESHEET' and Save.
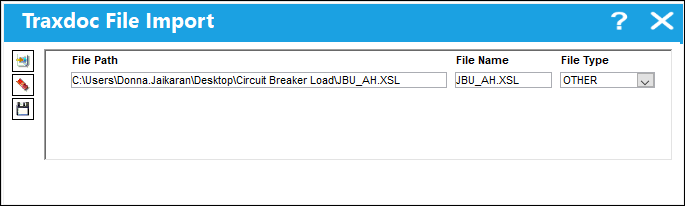
The Save prompt will appear. Select OK.
The Stylesheet has been loaded as shown below:
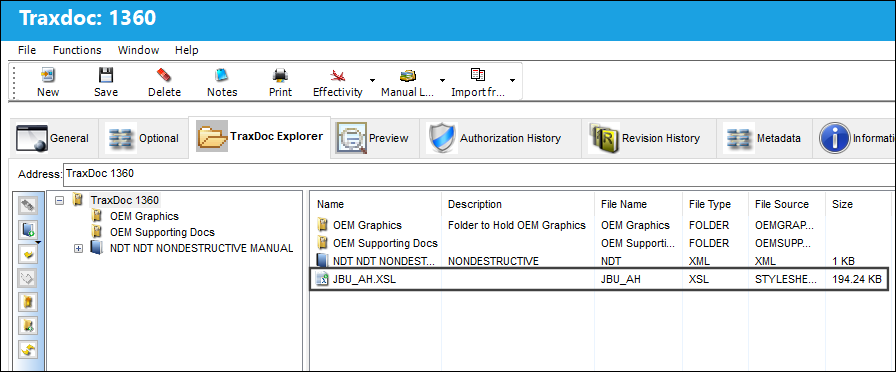
Importing NDT into Trax
Once the SGML has been loaded successfully into TraxDoc, the user must import the manual into the system.
Return to TraxDoc 1360. From the TraxDoc Document Detail, General tab, select the Import From OEM  button.
The Task Card Create from NDT window appears. Populate all mandatory and desired information and select the Next  button.
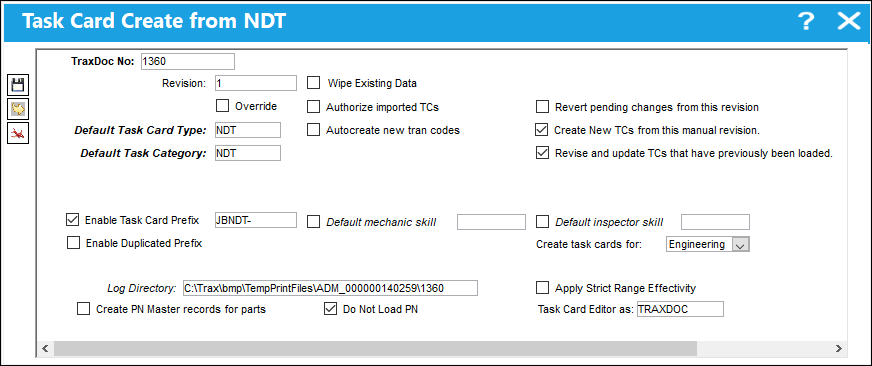
TRAX displays the following window.
Select the Task Cards to be imported. Use the buttons in the middle of the window to move the Task Cards from the Task(s) / Requirement(s) panel to the Task(s) Requirement(s) to Import panel.
Note: Effectivity can also be reviewed through the View AMM Effectivity button.
Once all desired Task Cards have been moved to the right panel, select the Run  button.
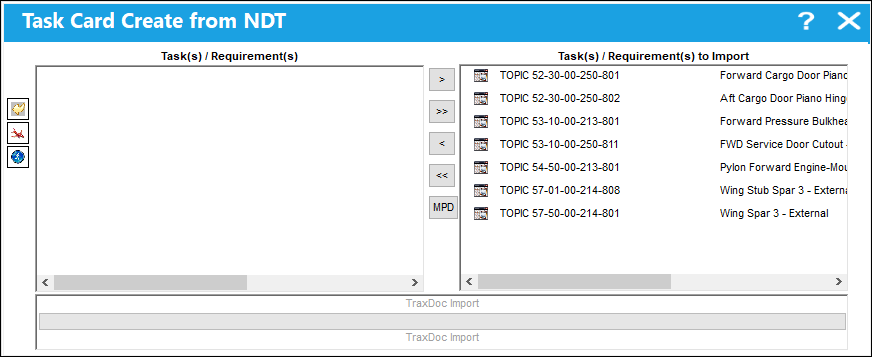
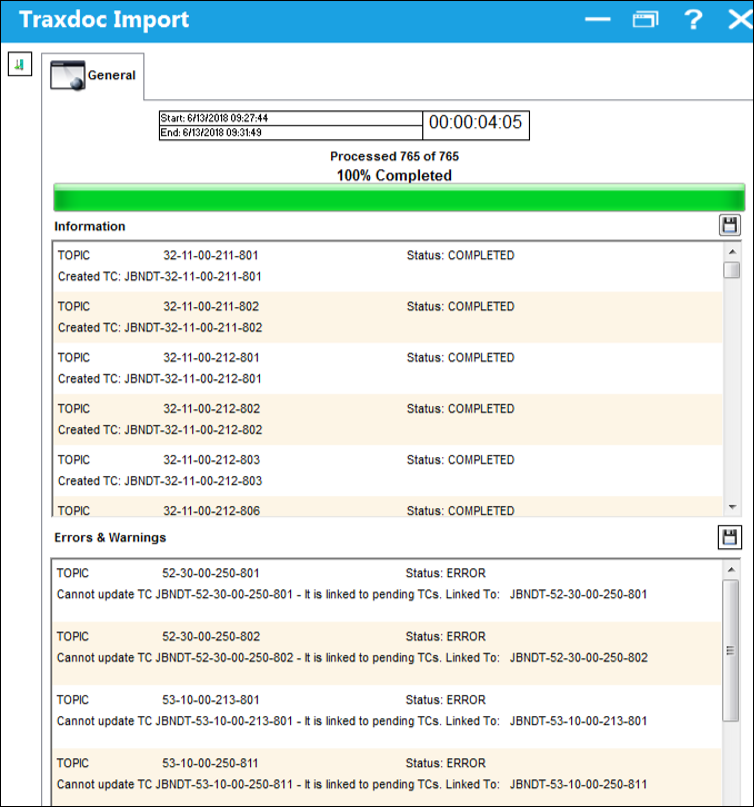
 If any errors occur during import, do not authorize any the the recently imported Task Cards. Contact TRAX immediately for assistance.
The import is complete.
Share
Print
|
©1997-2026 Trax USA Corp. All rights reserved. This manual may not be copied, photocopied, reproduced, translated, or converted to any electronic or machine-readable form, in whole or in part, without prior written approval from Trax USA Corp. |
 |