
 Share
Share
 Print
Print
|
|
|
|
|


The Load files into shared directory  button allows the user to specify a location in which to load a file.
Go to the configuration Switch  TXCDIR via System Transaction Configuration. Go to System Configuration Explorer/TraxDoc/TXCDIR/Update Record/Configuration Tab.
In the Config Other Tab, specify the path to which the user would like to load a file. Select the Save  button.
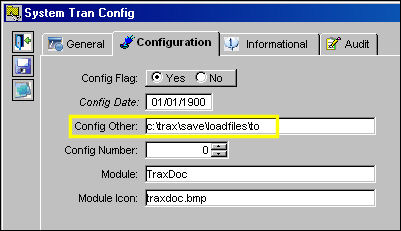
From the File Manager tab, select the Load files into shared directory button. The Load Files window appears. Right click in the Files Directory field.

The Browse for Folder window appears. Select a shared directory in which to load the file(s) and select 'OK.'
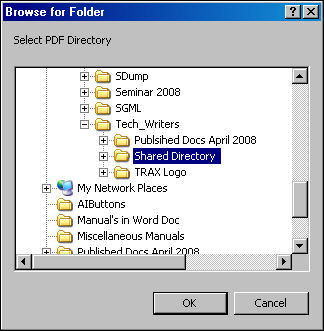
The folder appears in the Files Directory field. Select the Save button.

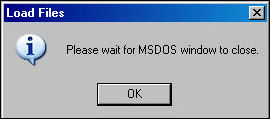
The Load Files pop-up appears. Select 'OK'. Go to the path specified in the Config Other tab of the configuration Switch TXCDIR.
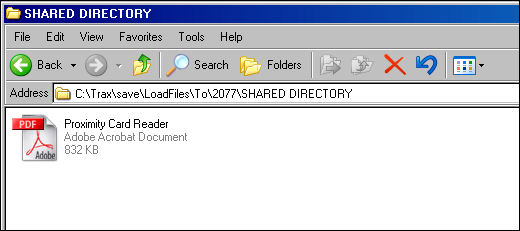
The file appears in the C: Drive as shown below. Select the file to view.
Share
Print
|
©1997-2026 Trax USA Corp. All rights reserved. This manual may not be copied, photocopied, reproduced, translated, or converted to any electronic or machine-readable form, in whole or in part, without prior written approval from Trax USA Corp. |
 |