
 Share
Share
 Print
Print
|
|
|
|
|


Select the Load XML  button. TRAX displays the TraxDoc XML Load Window.
- Unzip files.
a. Select the Trax Utilities
 Button. The Trax Utilities pop up appears.
b. Select the UnZip Files Button.
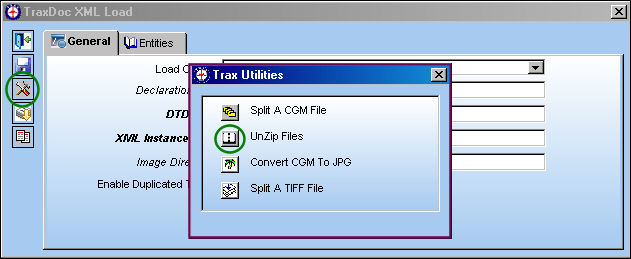
The Trax - UnZip Files Window appears.
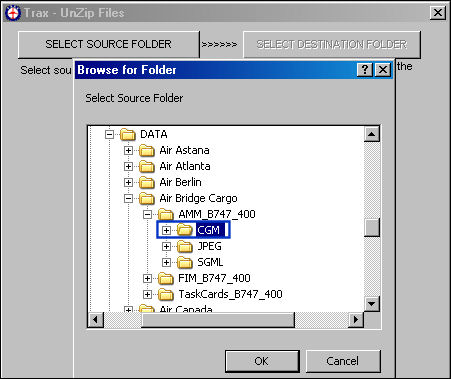
c. Select the Select Source Folder button. The Browse for Folder pop-up appears.
d. Select desired folder to un-zip and select OK.
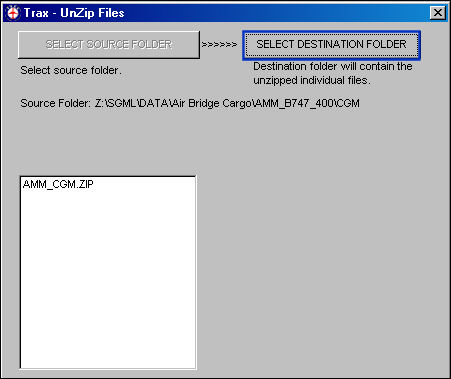
e. Select the Select Destination Folder button.
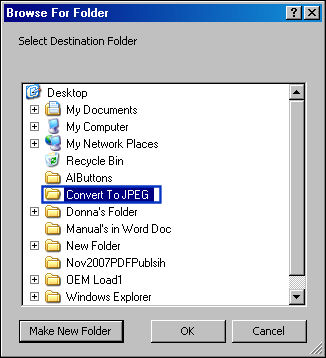
The Browse For folder pop-up appears. This is the folder where the JPEG files will be converted into. Note the Make New Folder is available to create a new folder for them to go into. Select a folder that has no content.
f. Select the Make New Folder button, name it and select OK.
The TRAX - UnZip Files Window appears. The files to be un-zipped appear on the left of the window. Select the UNZIP FILES button. Wait for the file to unzip.
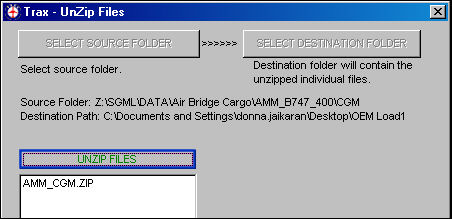
g. Select the Display Files button on the right side. The un-zipped files appear on the right side of the window.
h. Exit this window.
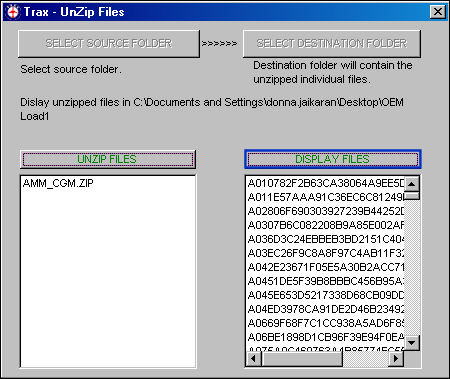
- Convert To JPEG.
Once the user has exited the above window, the TraxDoc XML Load Window appears. Note how the Image Directory field will automatically be set with the folder that was converted the graphics into.
If the user already has the OEM Manual content as XML, proceed to the next step to load it into TraxDoc. This step will assume that the user must first convert the OEM Manual SGML into XML.
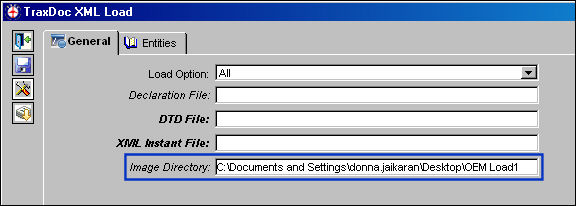
a. Select the Trax Utilities
button. The Trax Utilities pop up appears.b. Select the Convert TIFF/CGM To JPEG
 button.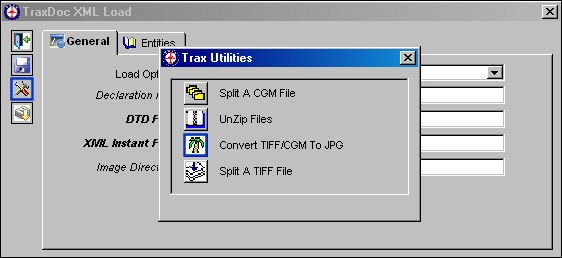
The Convert TIFF/CGM To JPG Window appears.
c. Select the Select Source Folder button.
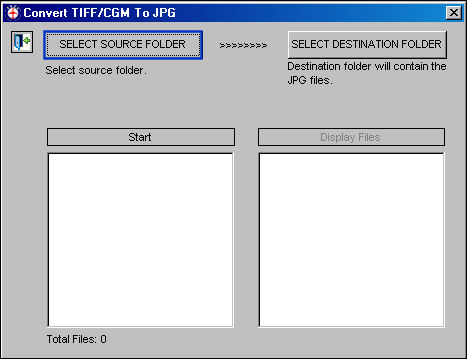
d. Select the folder that contains the CGM/TIF files. Select OK.
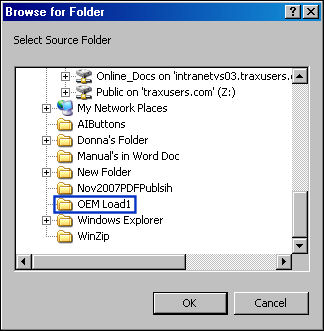
The selected file will appear in the left display box.
e. Select the Select Destination Folder button.
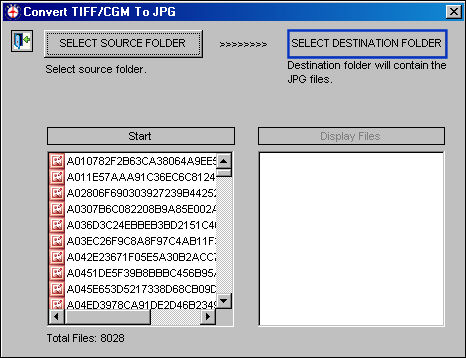
The Browse For Folder pop-up appears.
f. Select the desired file and click OK. Select a folder which is empty. If an empty folder is not available, select the Make New Folder button, to create an empty folder.
g. Select the Start button.
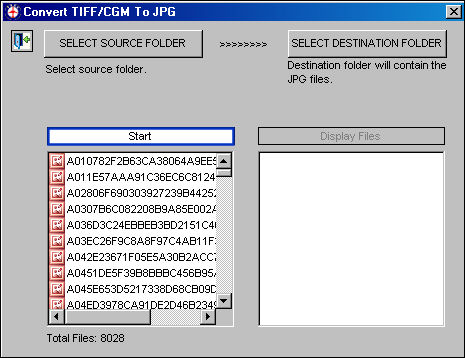
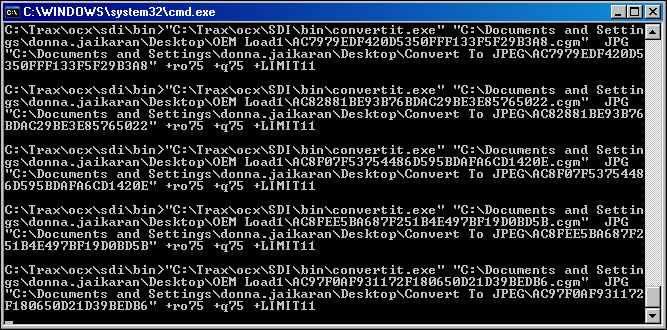
TRAX will display the following window to begin the process of converting the pictures to JPG format. Trax will launch a separate command window, which will run this conversion. The user may resume using Trax while the conversion is running, but do NOT use or access the TraxDoc record itself during this time… Only use other transactions/records in Trax.
Note this process is lengthy, and will take time.
Once the command window doing the conversion has closed, select the Exit button on the above window.
- Convert OEM Manual SGML into XML.
Note how the Image Directory field will automatically be set with the folder you converted the graphics into.
If the OEM Manual content is in XML, proceed to the next step to load it into TraxDoc. This step will convert the OEM Manual SGML into XML.
Click the SGML to XML button (the red and blue X icon) to bring up the TraxDoc SGML to XML window.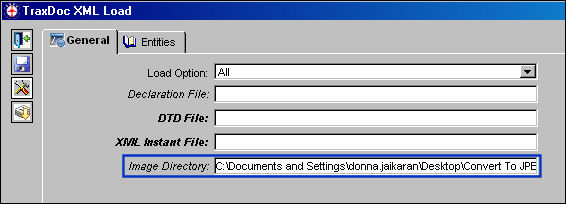
a. Right-click the declaration file box and specify the declaration file of the OEM Manual, if provided.
b. Right click the DTD and SGML file fields and fill those in with the DTD and SGML/SGM files.
c. Select the Convert SGML to XML
 button. The command window completing the conversion will appear. When the conversion is completed the command window will disappear.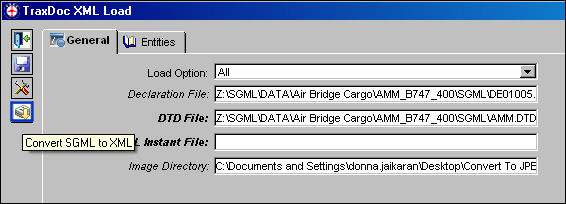
The TraxDoc SGML to XML pop up appears. Populate the following fields with the correct information.
d. Select the Save
 button.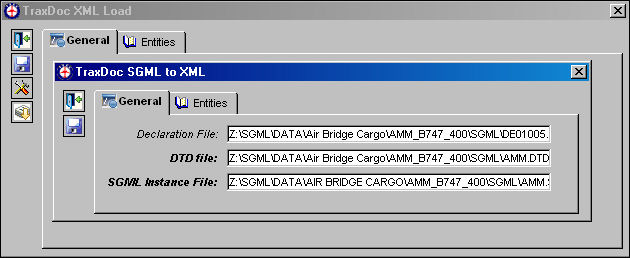
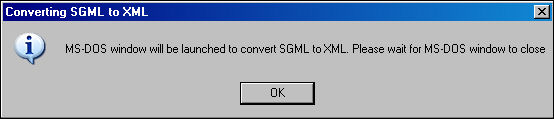
The Converting SGML to XML pop up appears. Select OK. This will launch a separate command window to run the SGML to XML conversion. Do not continue using Trax until after this window has closed. This process takes about 20 minutes for an SGML file that is 100 megs.
Once completed and the command window closes, the user will notice that the XML Instant File field has been auto-populated.
e. Select the Save
button.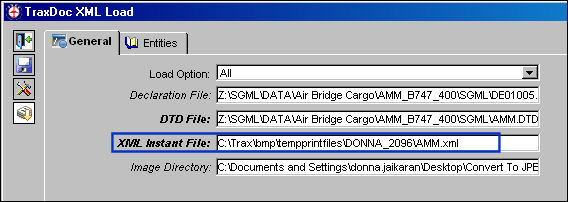
The Load XML pop up will appear.
f. Select OK. Trax will launch a separate command window to load the data into TraxDoc. The user may resume using Trax while it is running, but do NOT use or access the TraxDoc record itself during this time… Only use other transactions/records in Trax.
The process will take some time to complete. Once the command window closes, the conversion is complete and TraxDoc record may be accessed.
The TraxDoc record has been loaded.
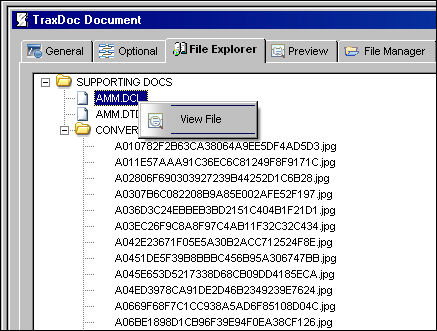
g. Go to the File Explorer Tab.
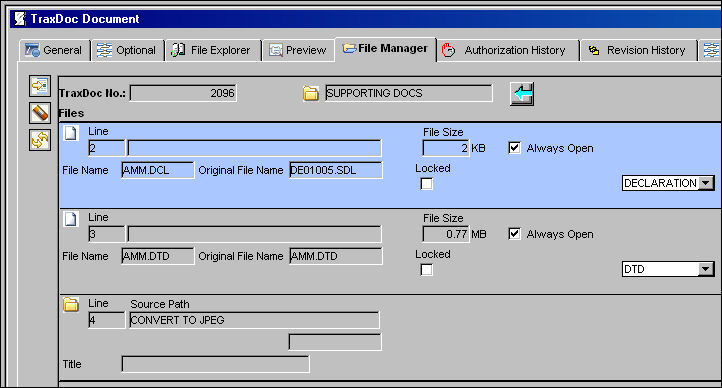
The OEM Manual data can be viewed in this Tab.
From this Load window, the TraxDoc XML Load, Entities Tab is available for further utilization.
Share
Print
|
©1997-2026 Trax USA Corp. All rights reserved. This manual may not be copied, photocopied, reproduced, translated, or converted to any electronic or machine-readable form, in whole or in part, without prior written approval from Trax USA Corp. |
 |